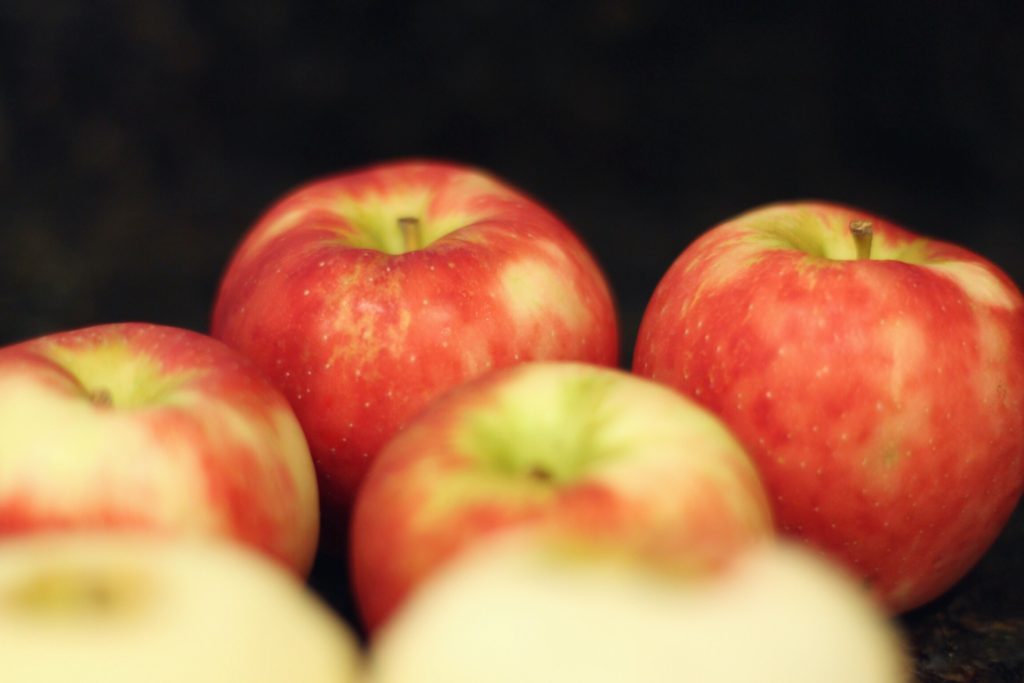
well, if you go apple picking, ya gotta make apple pie, right?!
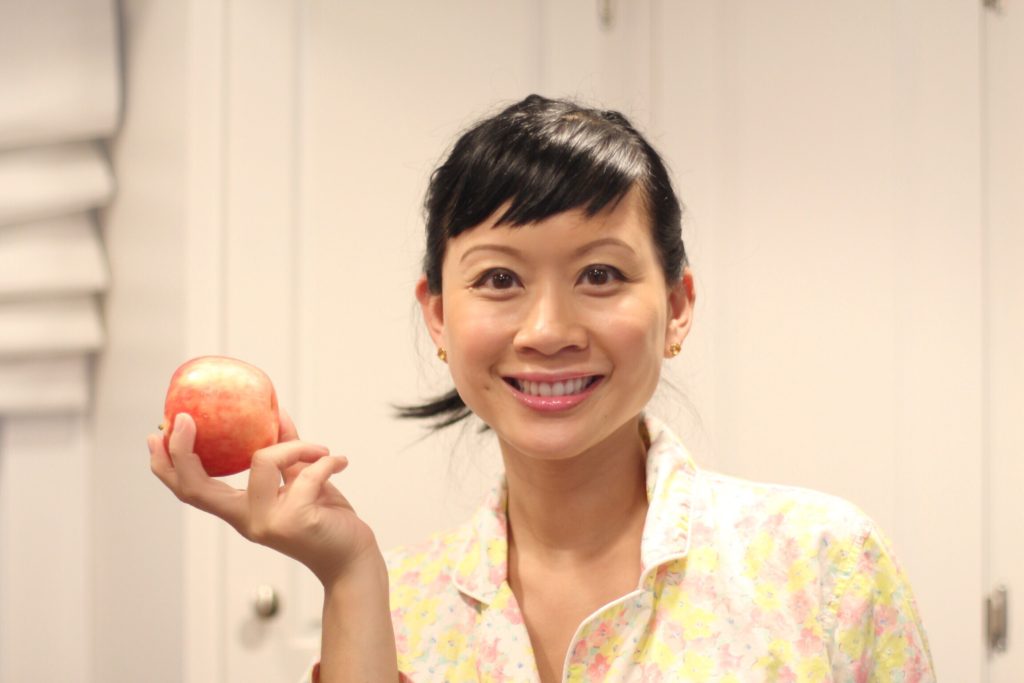
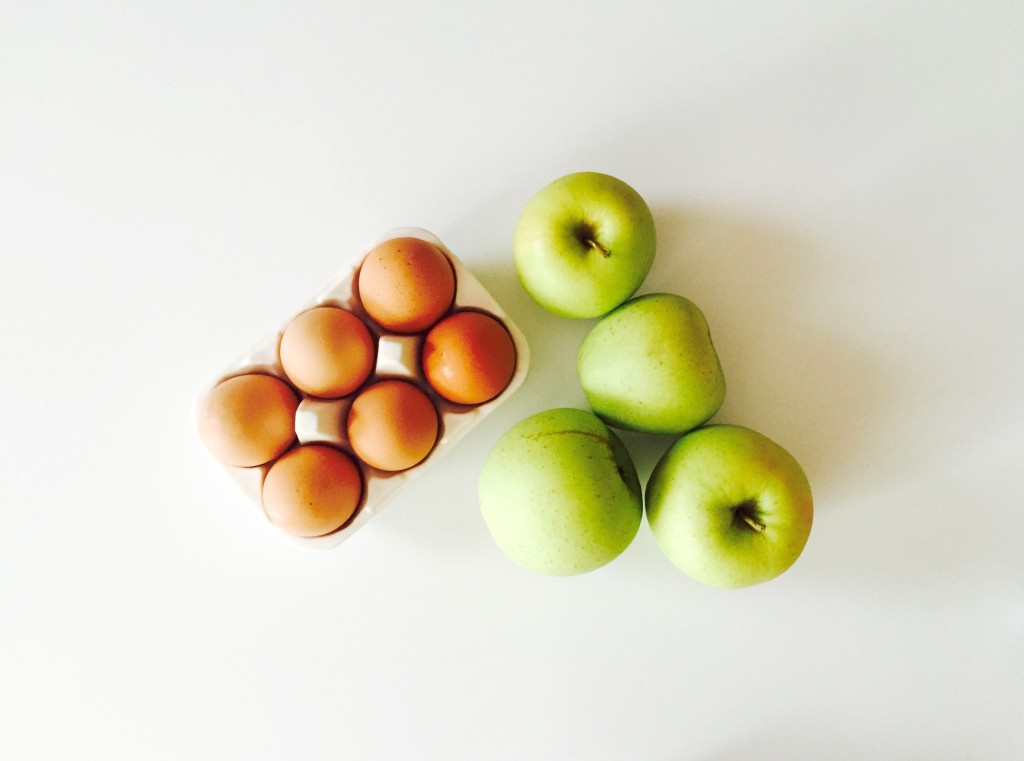
every year, after we pick apples, hc and i collaborate and make apple pies! i usually peel and slice the apples while hc makes the pie crust.
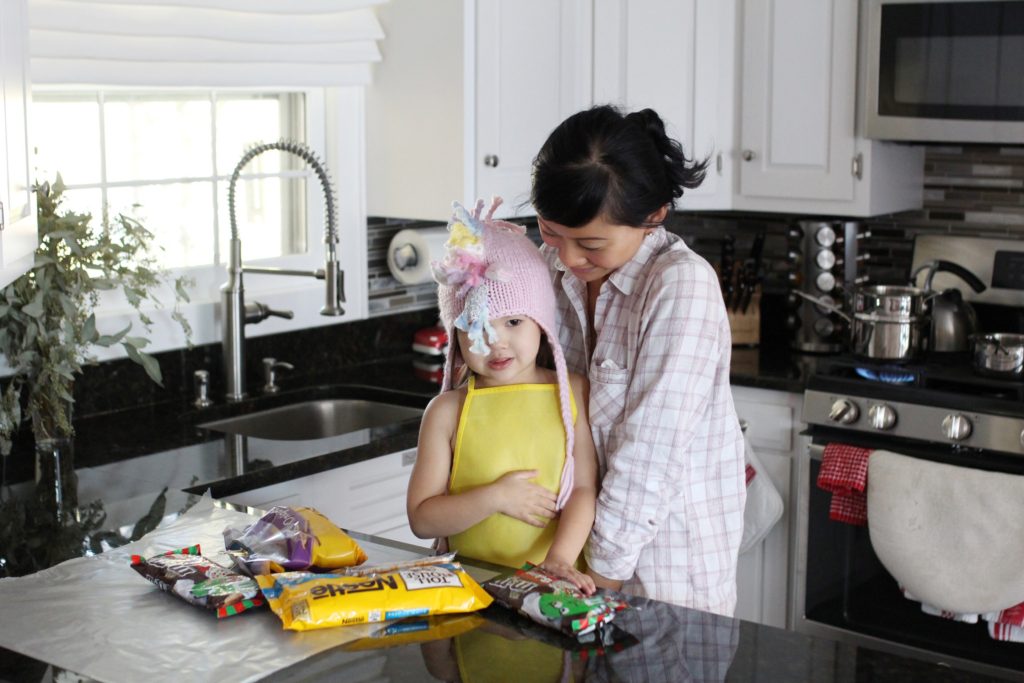
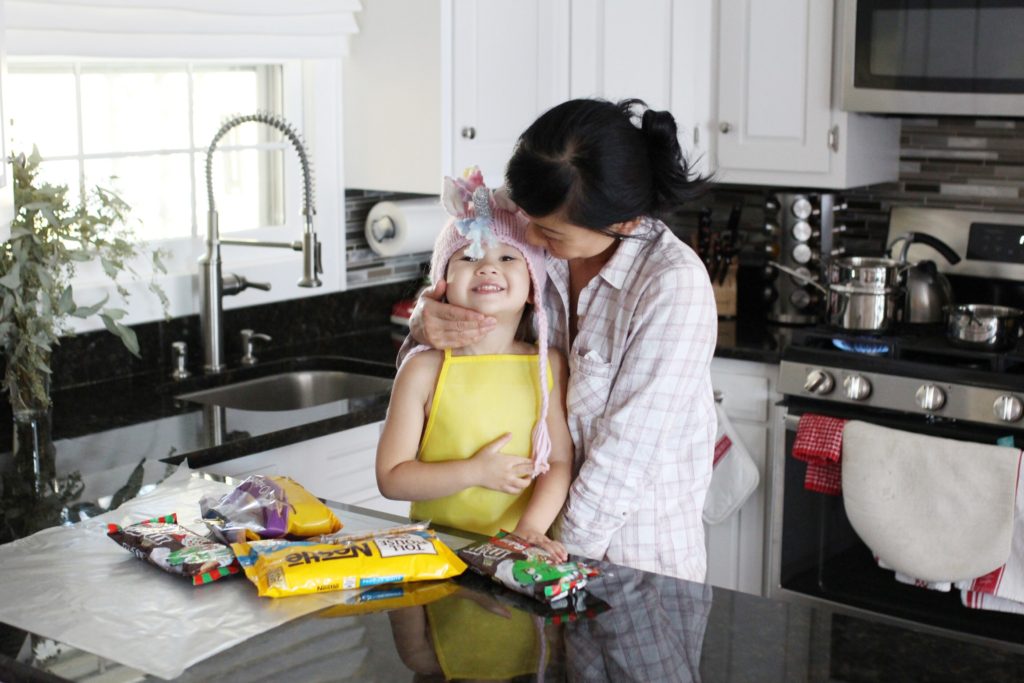
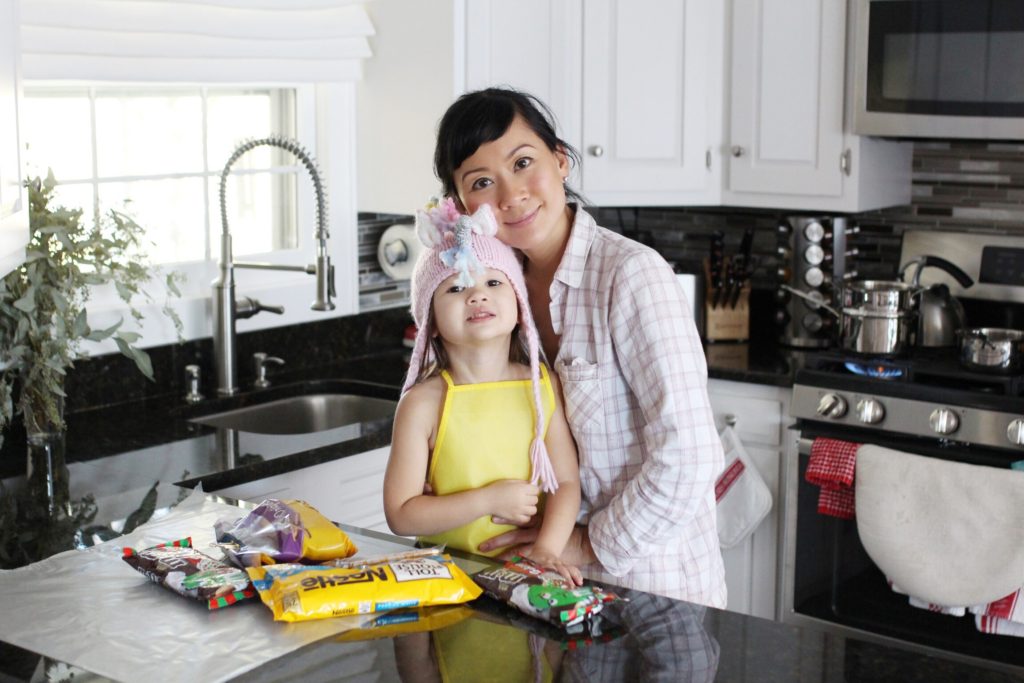
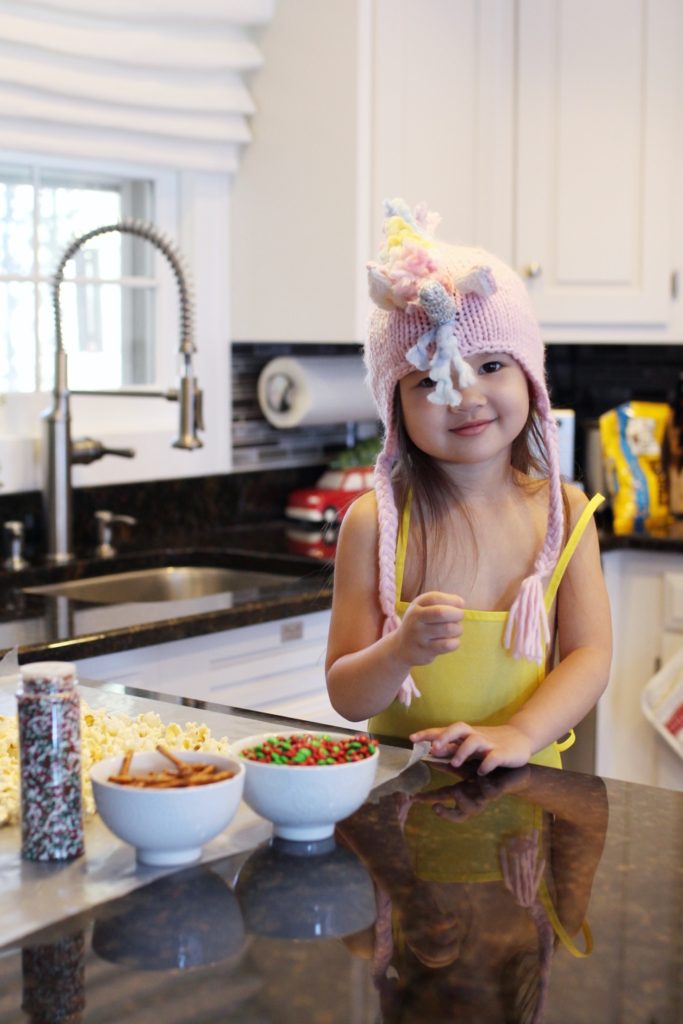
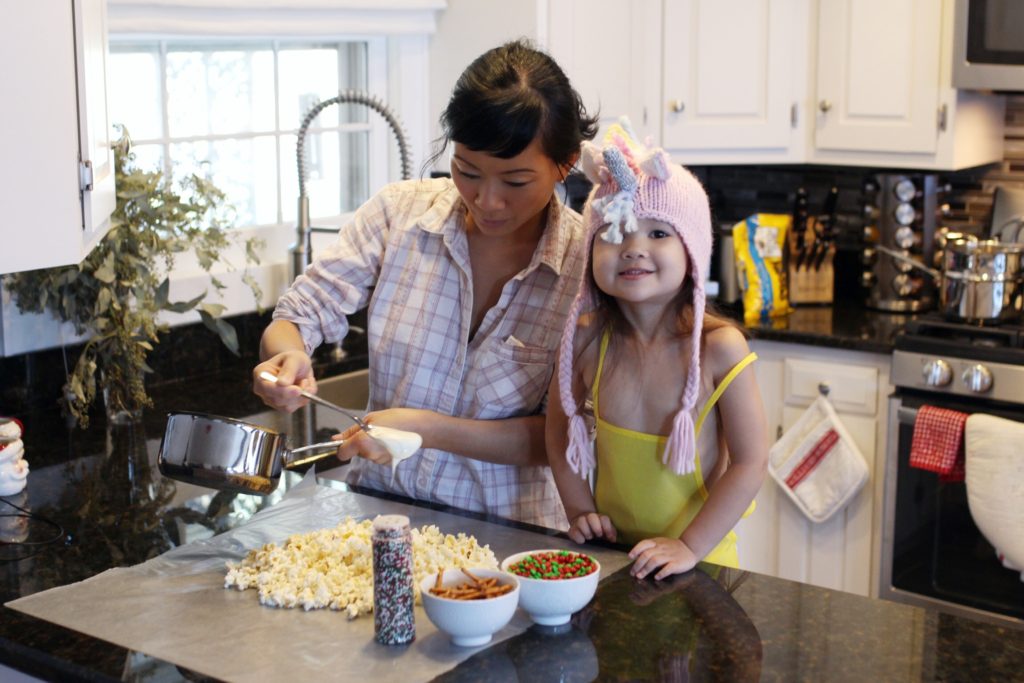
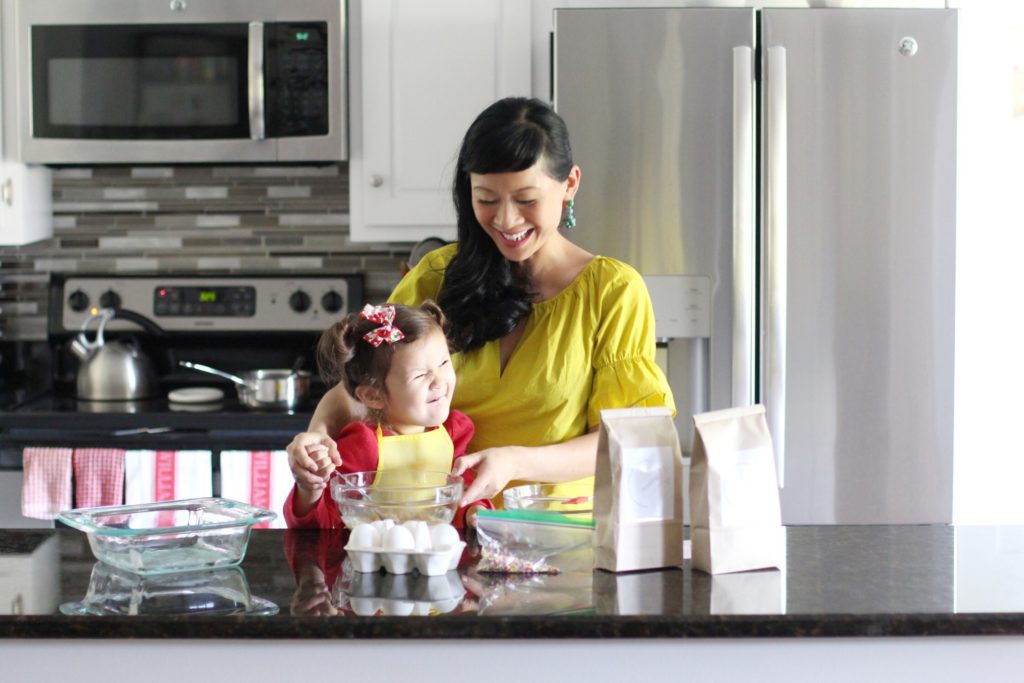
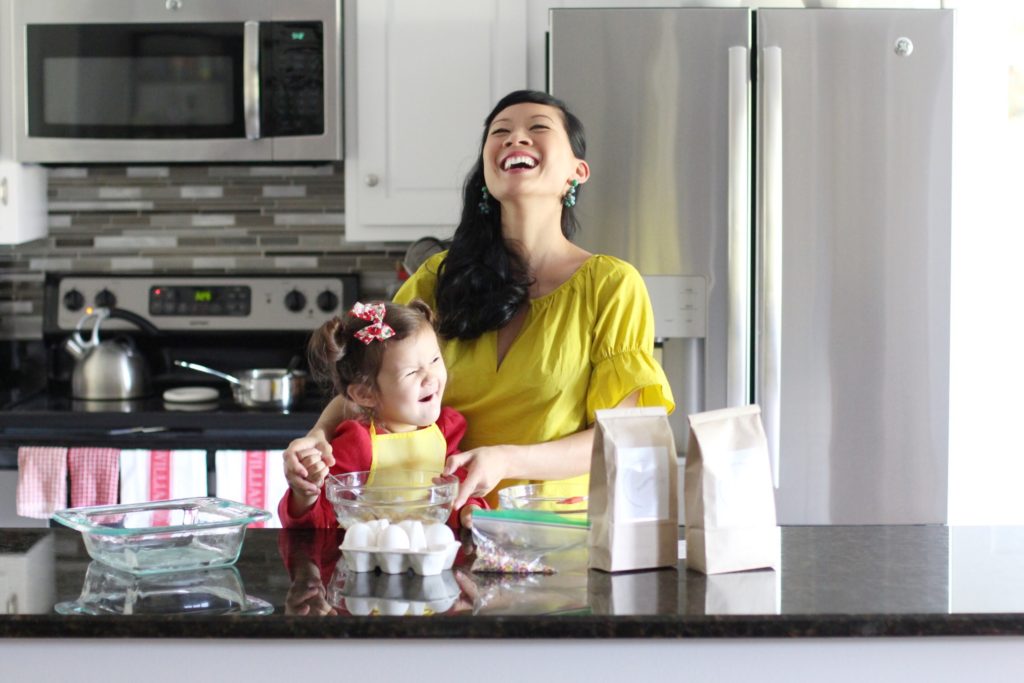
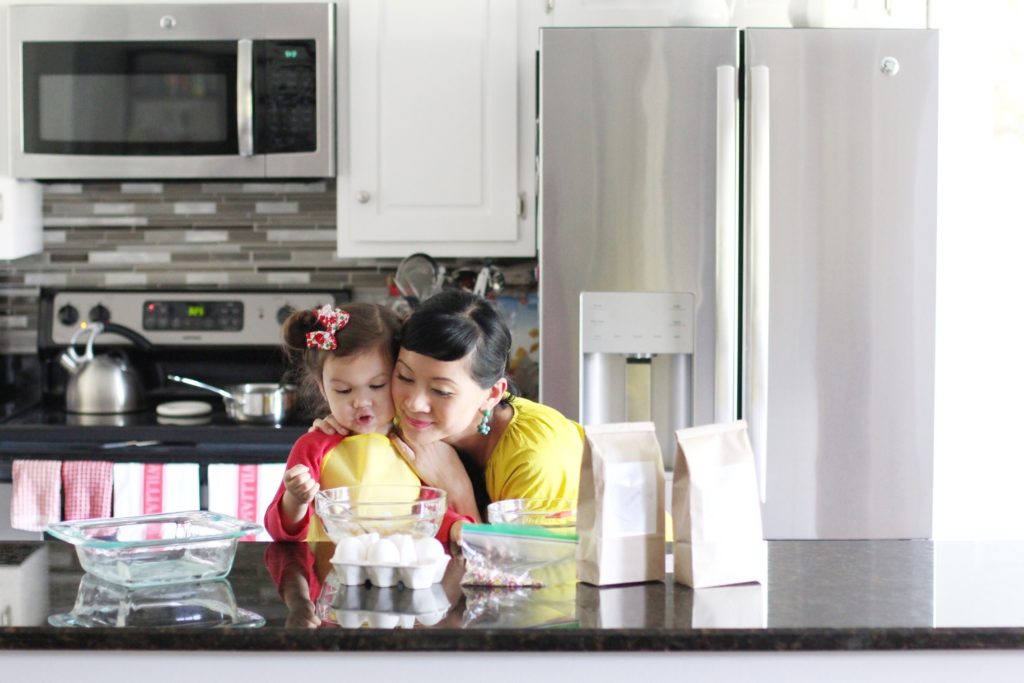
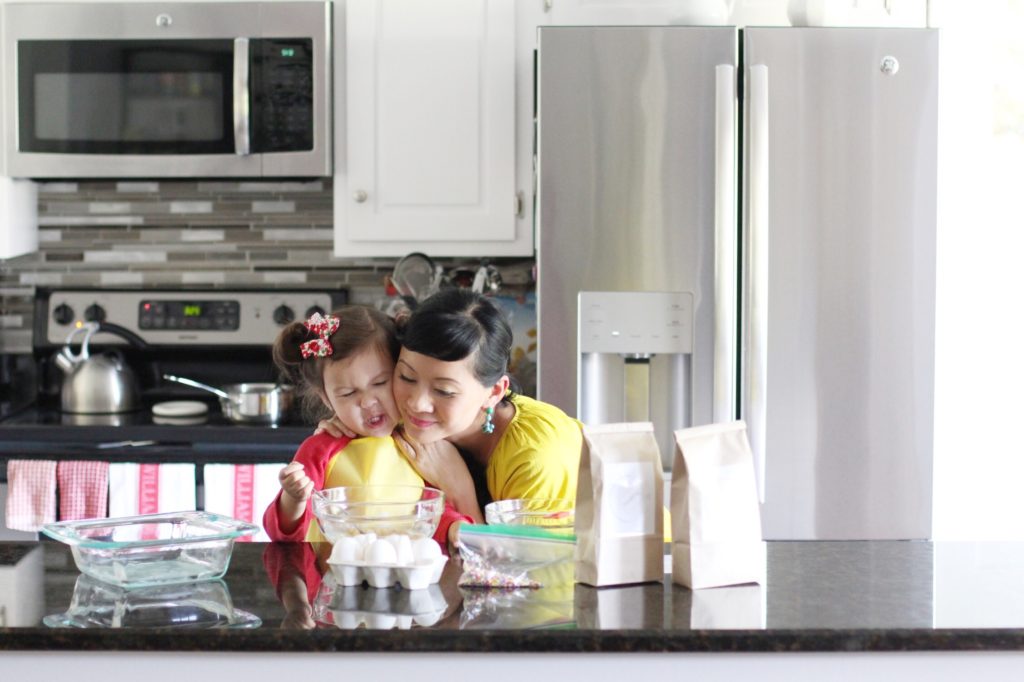
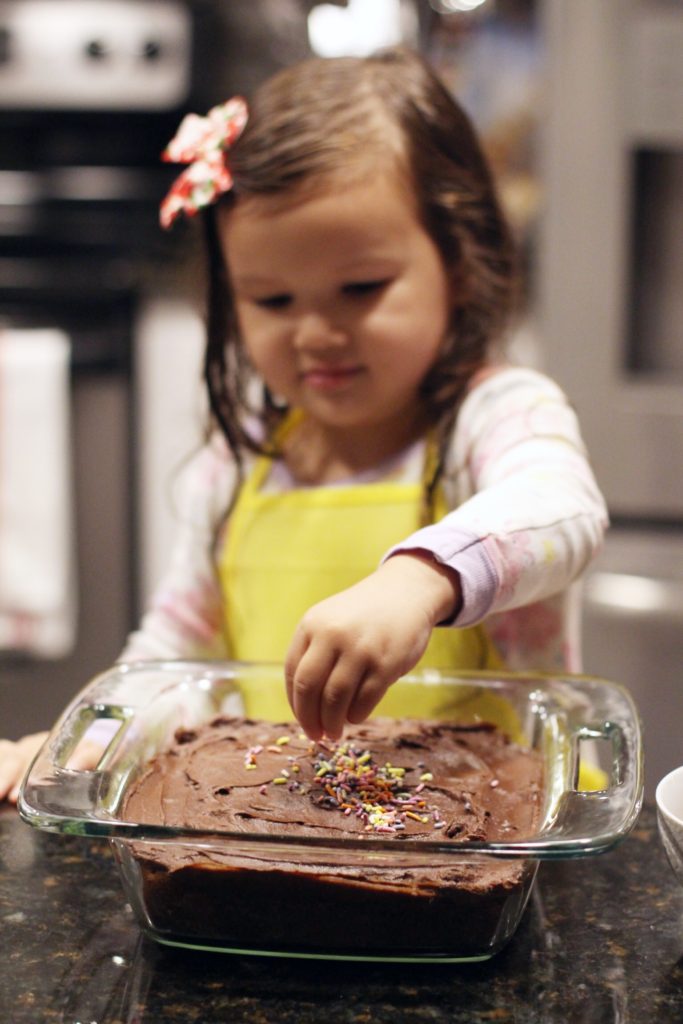
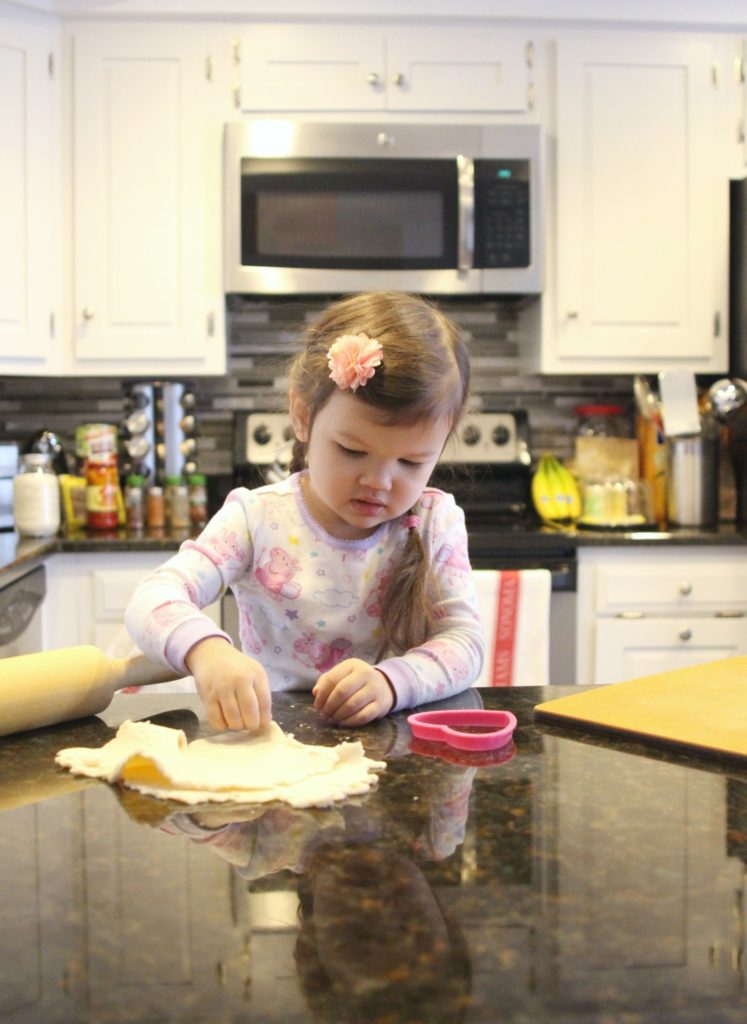
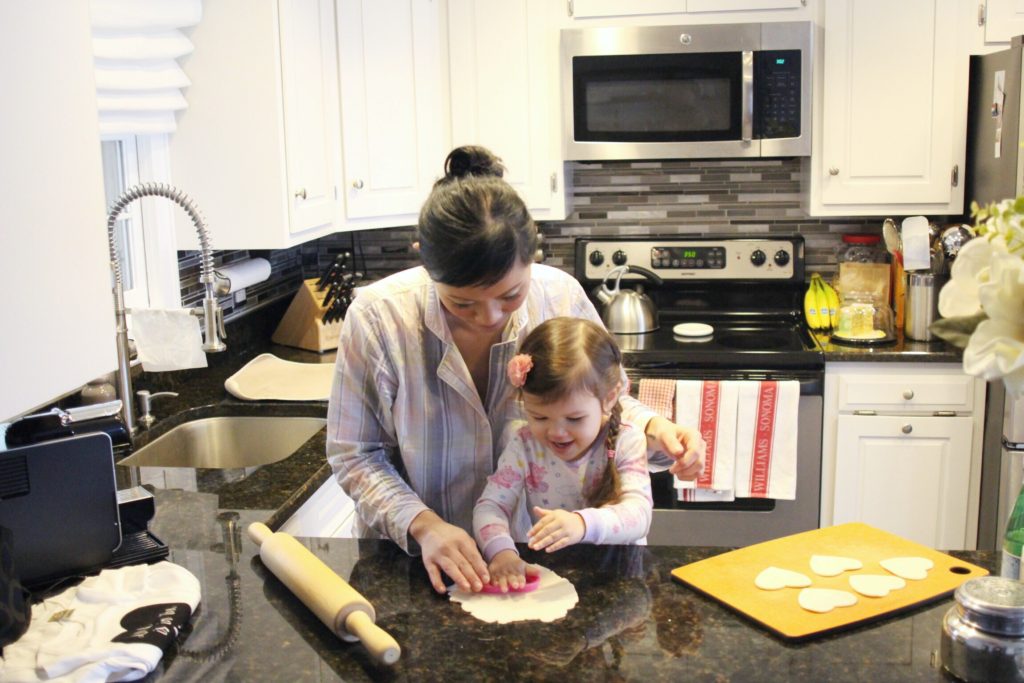
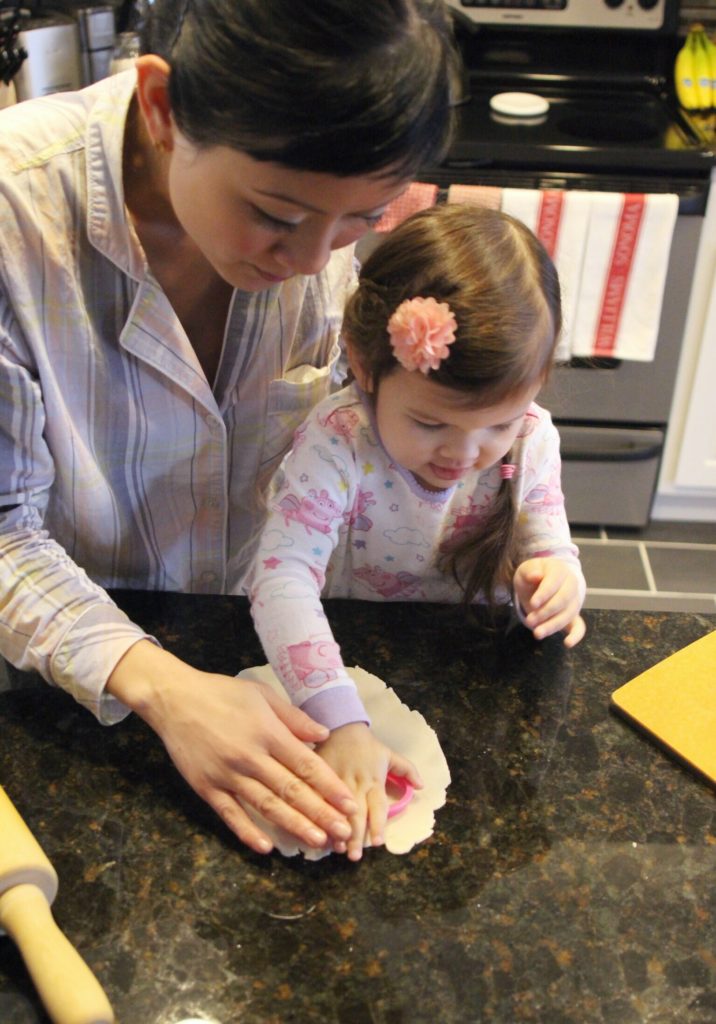
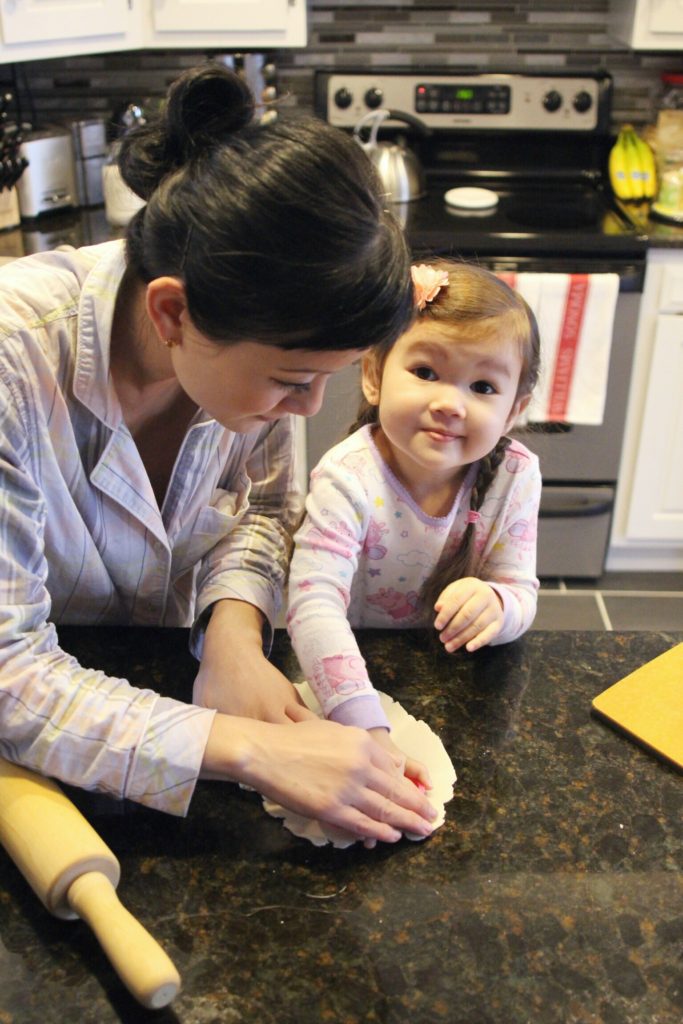
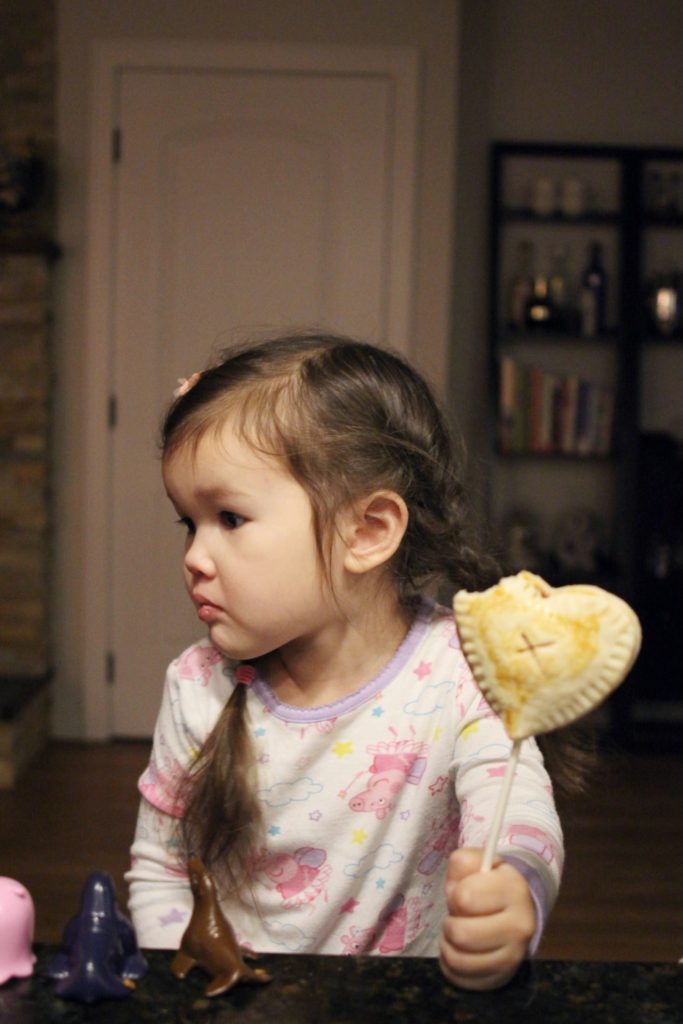
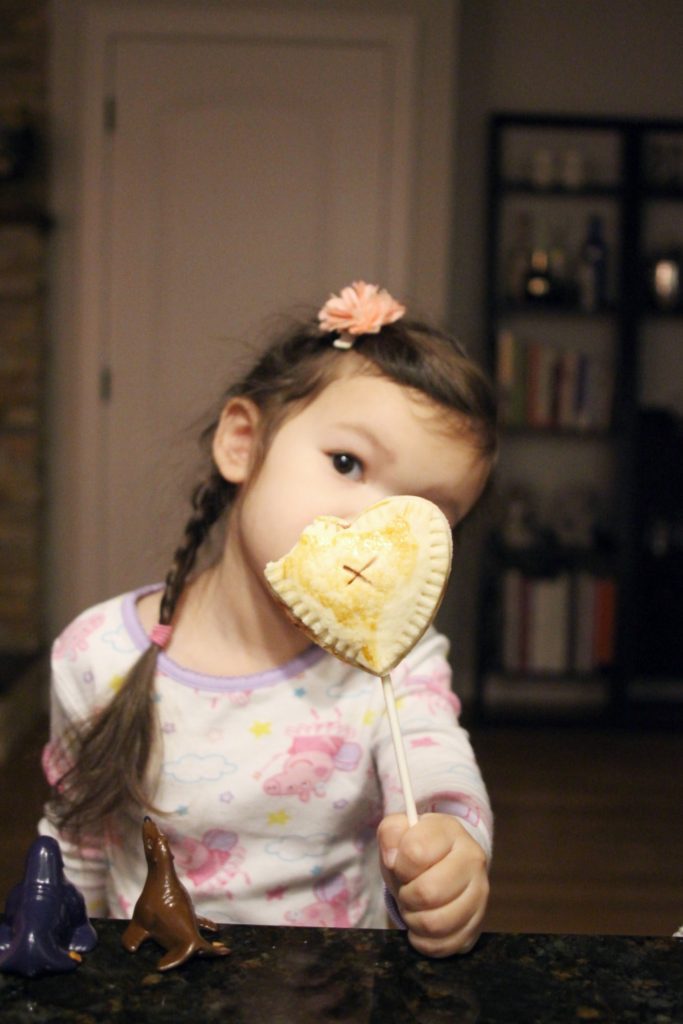
i love that olive is at an age where she can really help. we really do have fun together! she’s so cooperative, neat, and listens well to directions {unlike my little nugget ellie}.
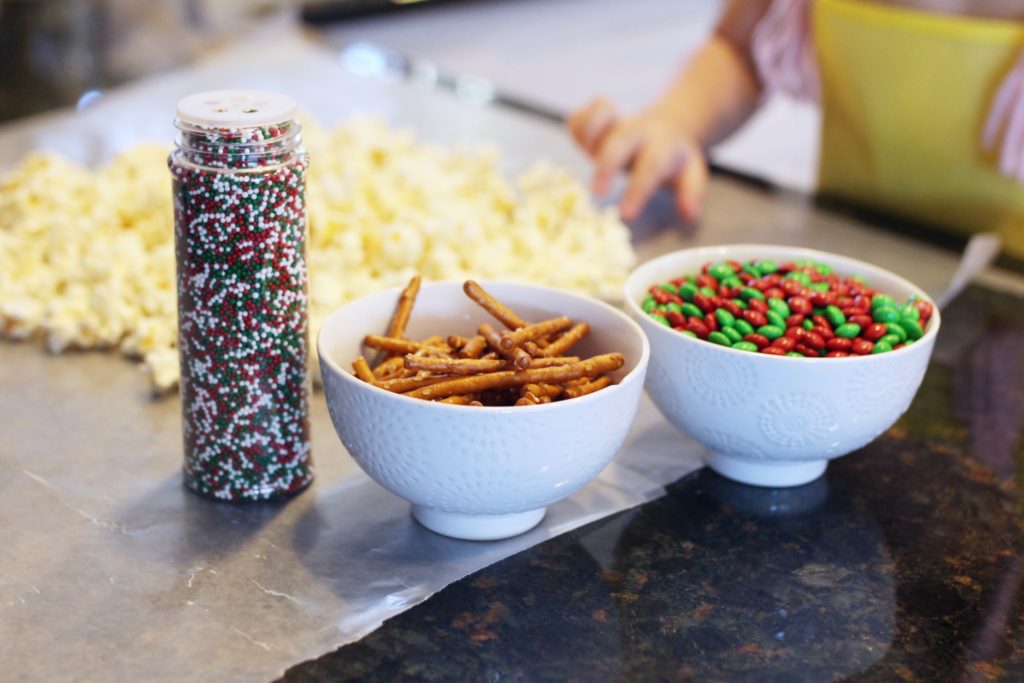
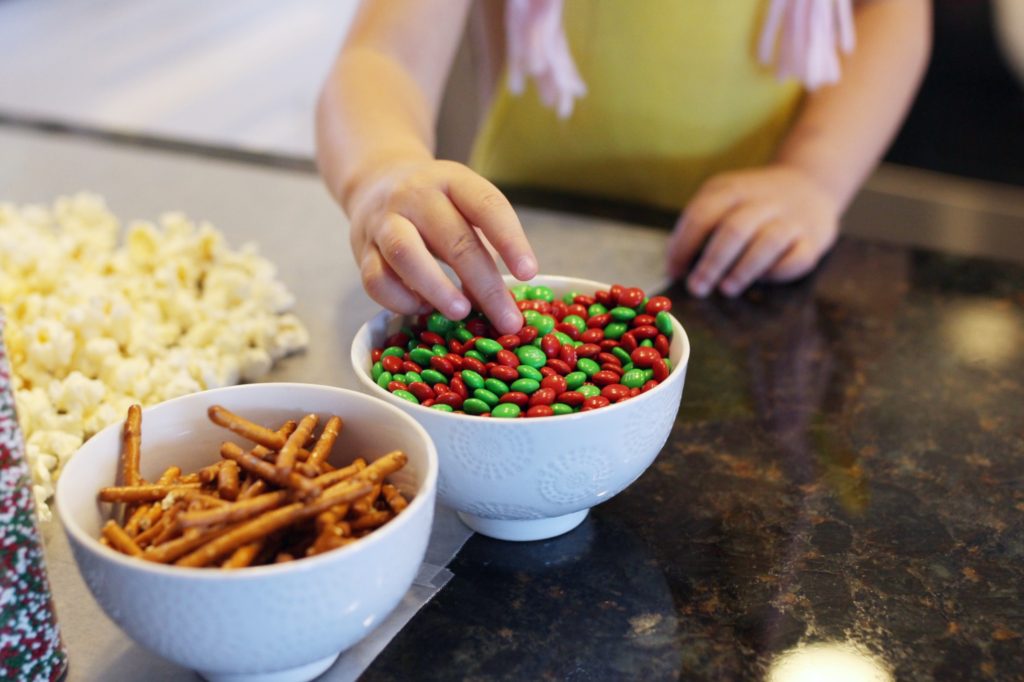
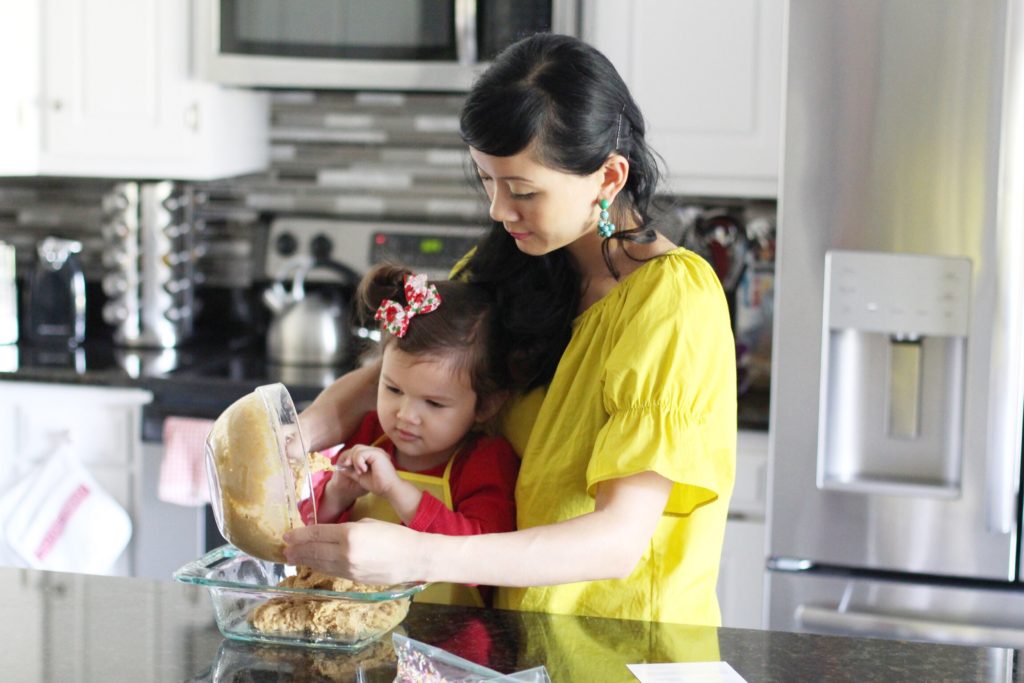
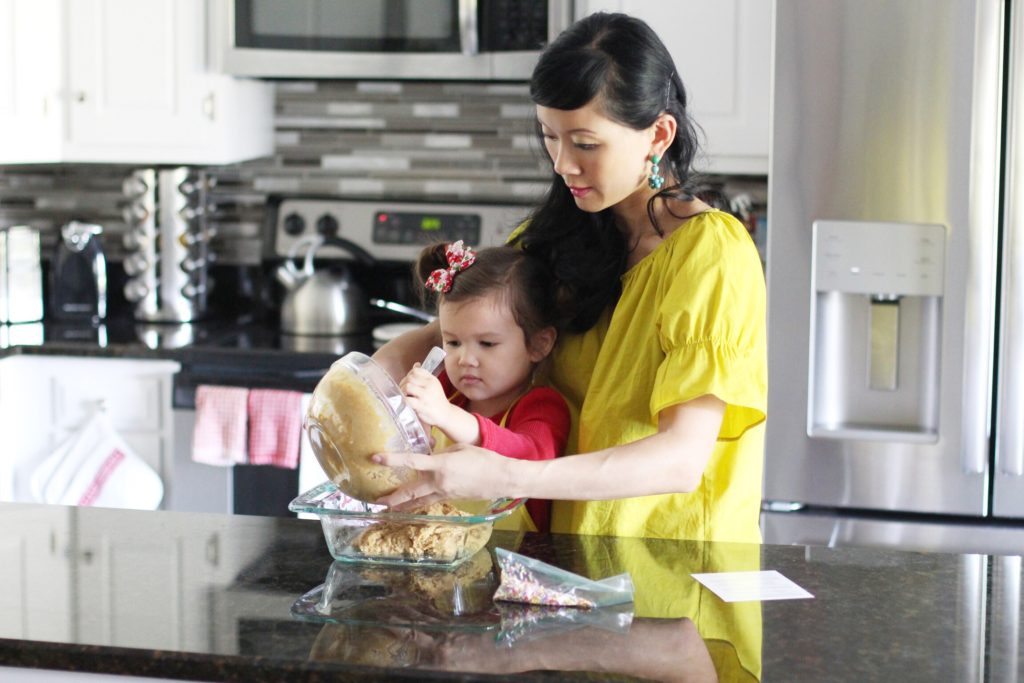
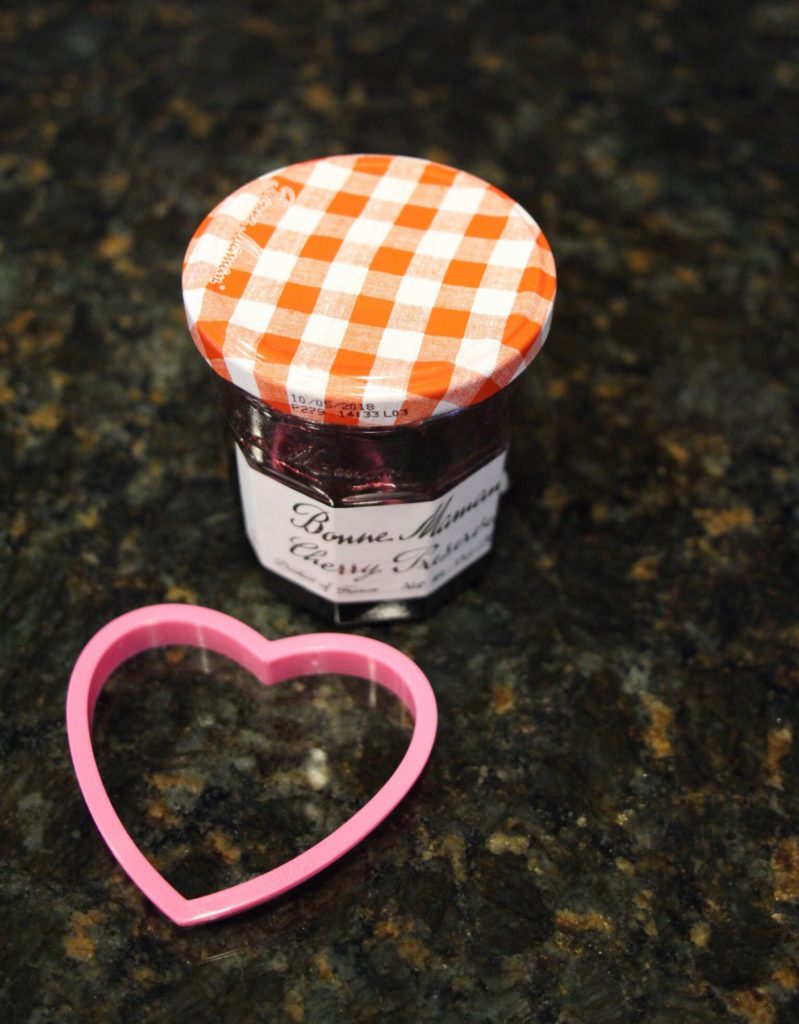
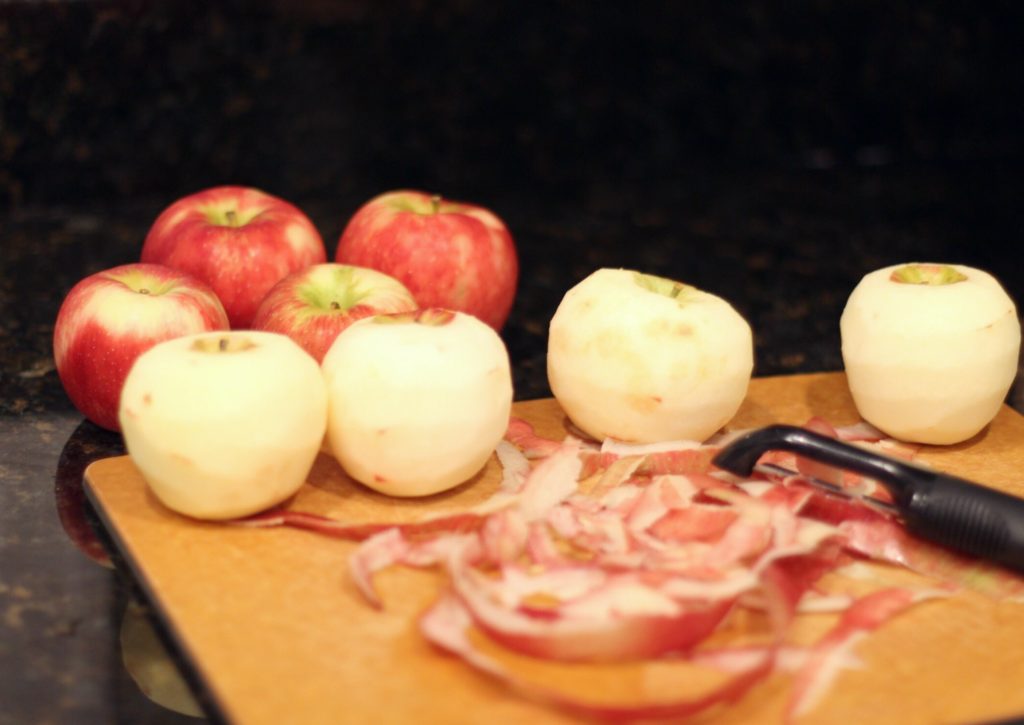
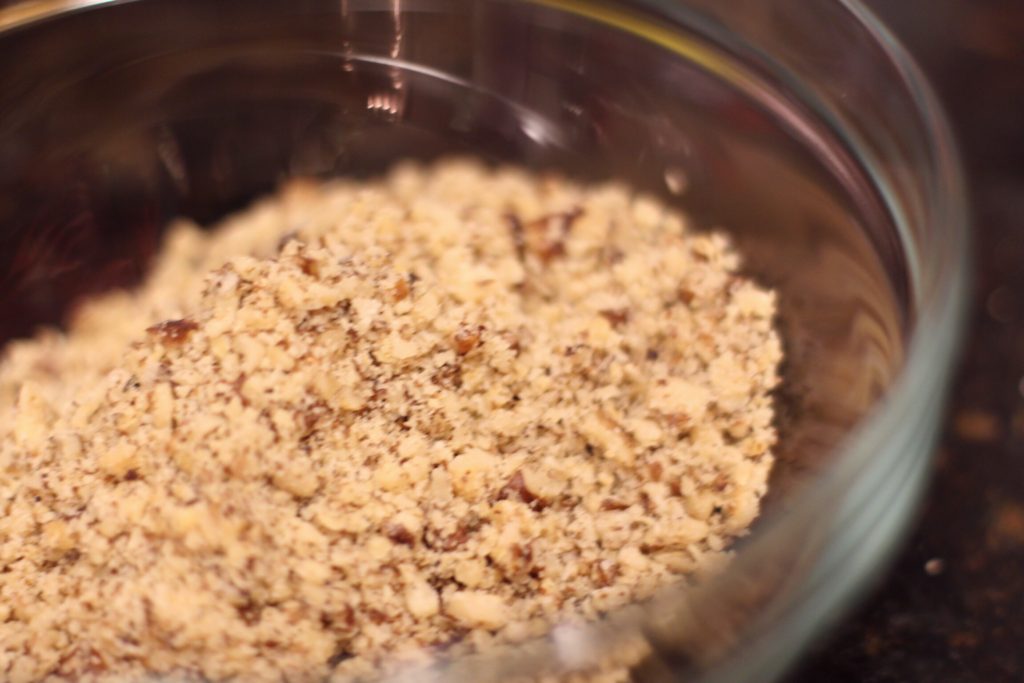
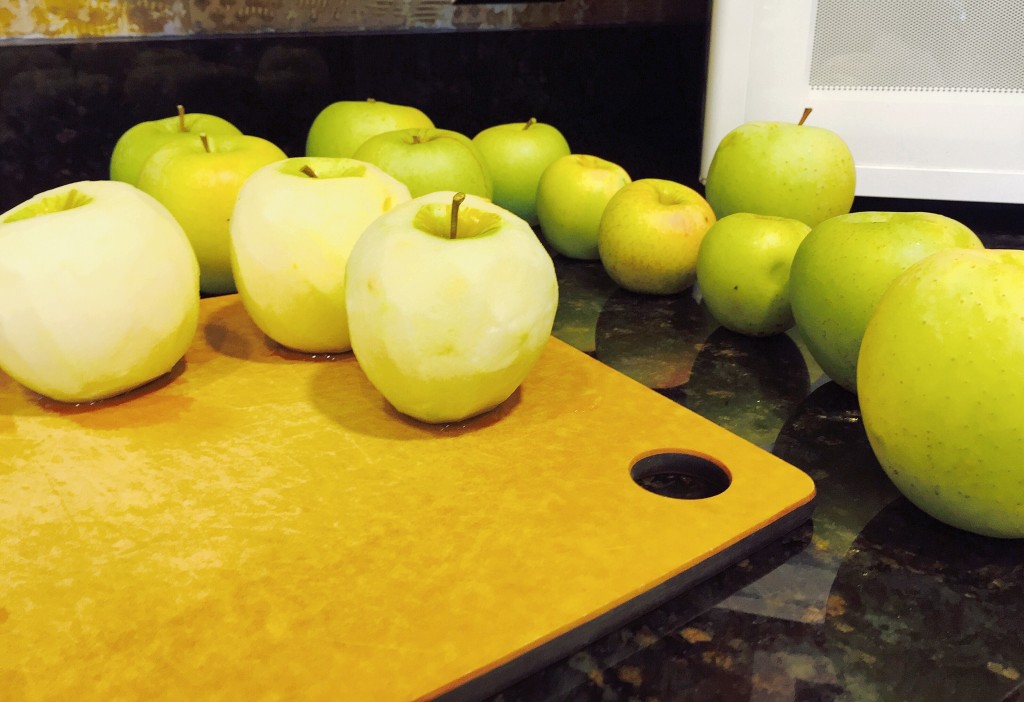
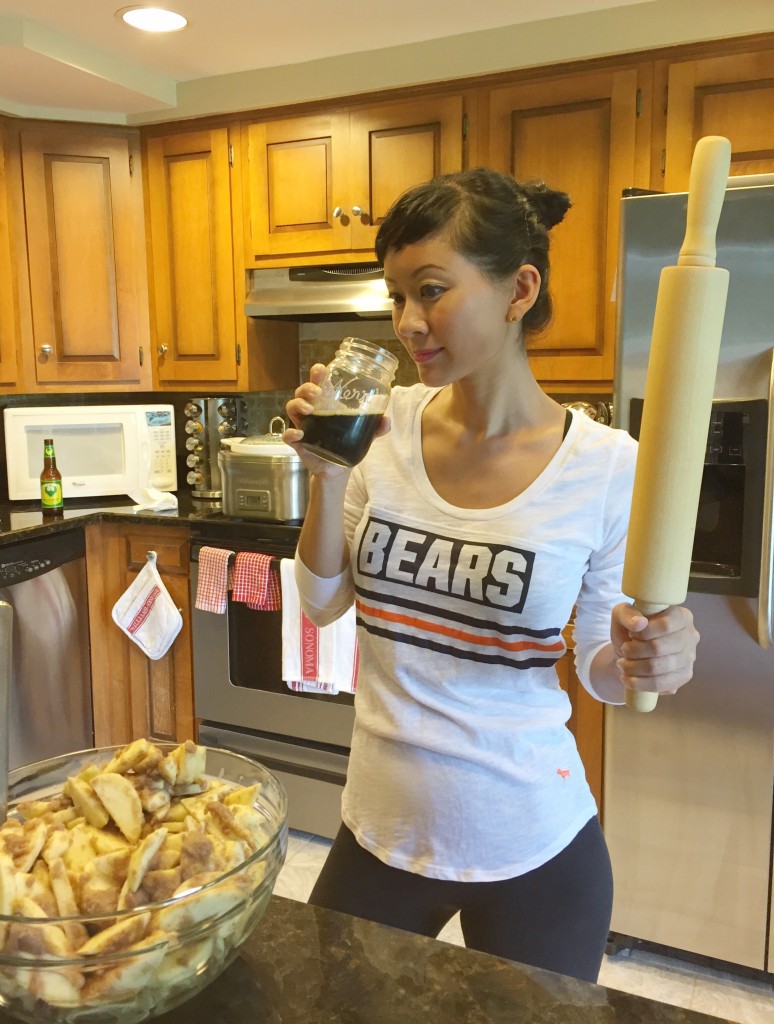
we started with peeling 10-12 medium to small apples. i like to slice them more on the thin side as they cook well and it is easier to eat. i measured and olive threw in flour, sugar, cinnamon, nutmeg, lemon juice, brown sugar, and mixed it all up.
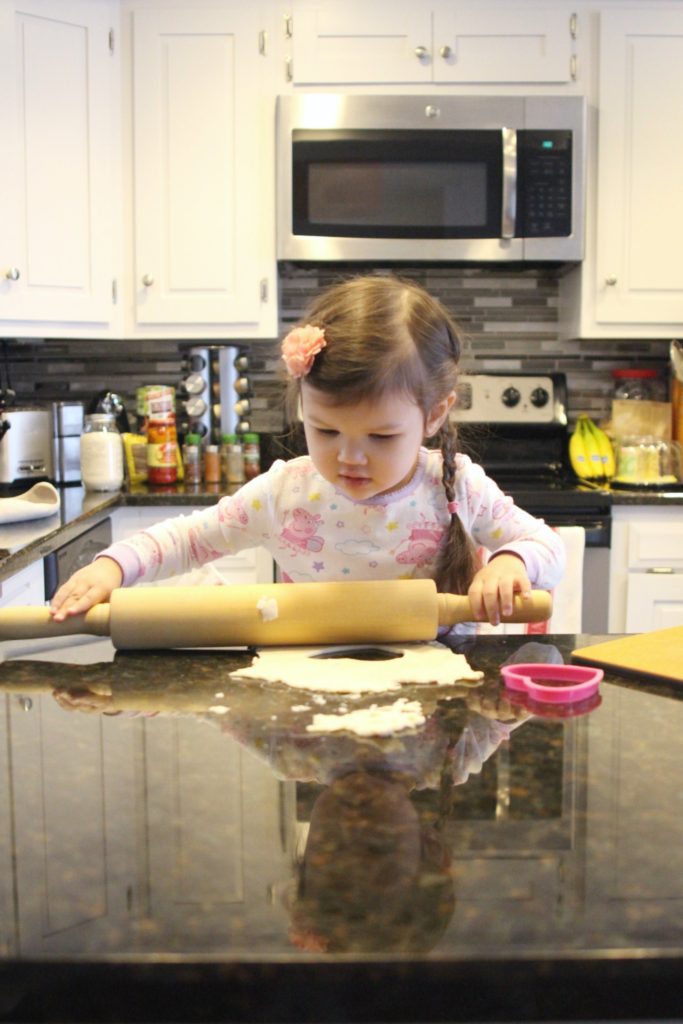
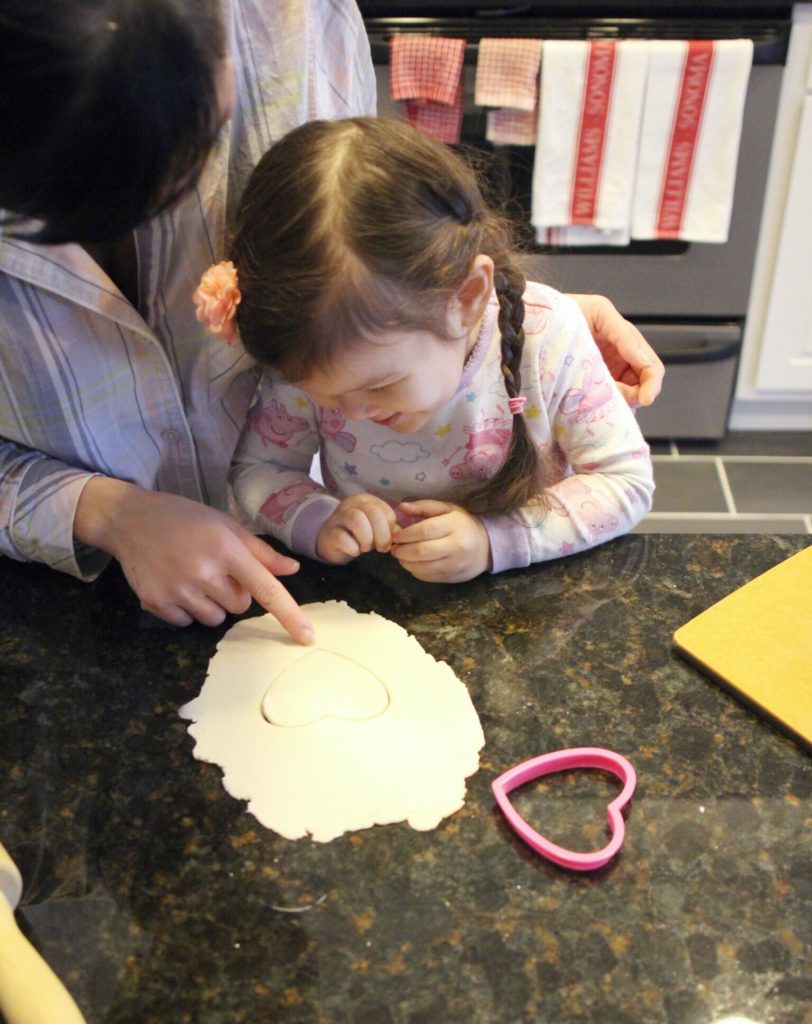
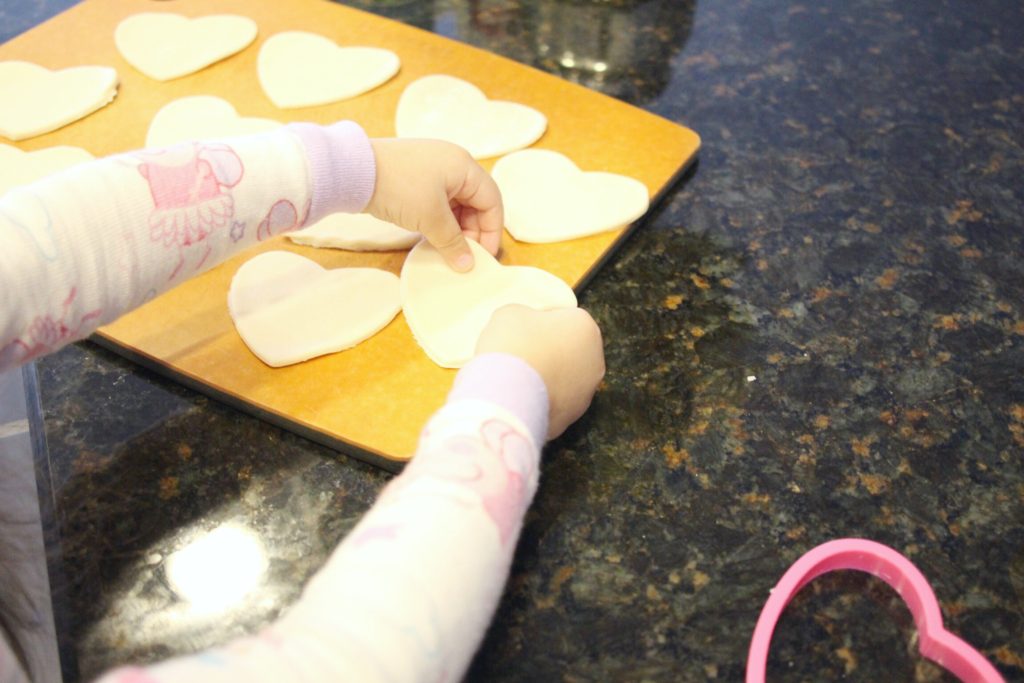
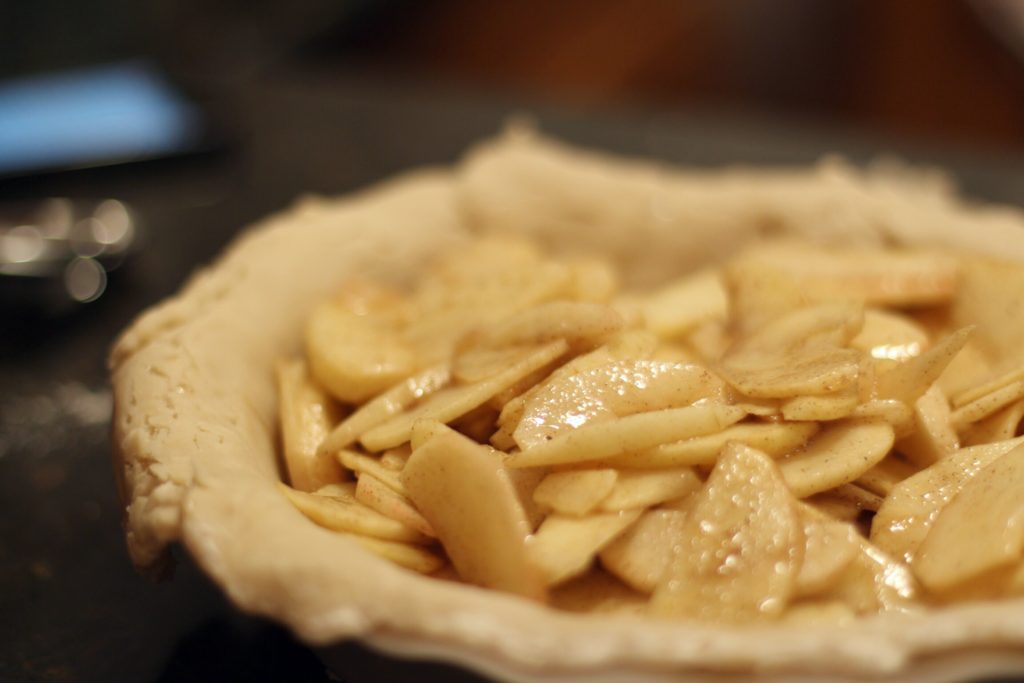
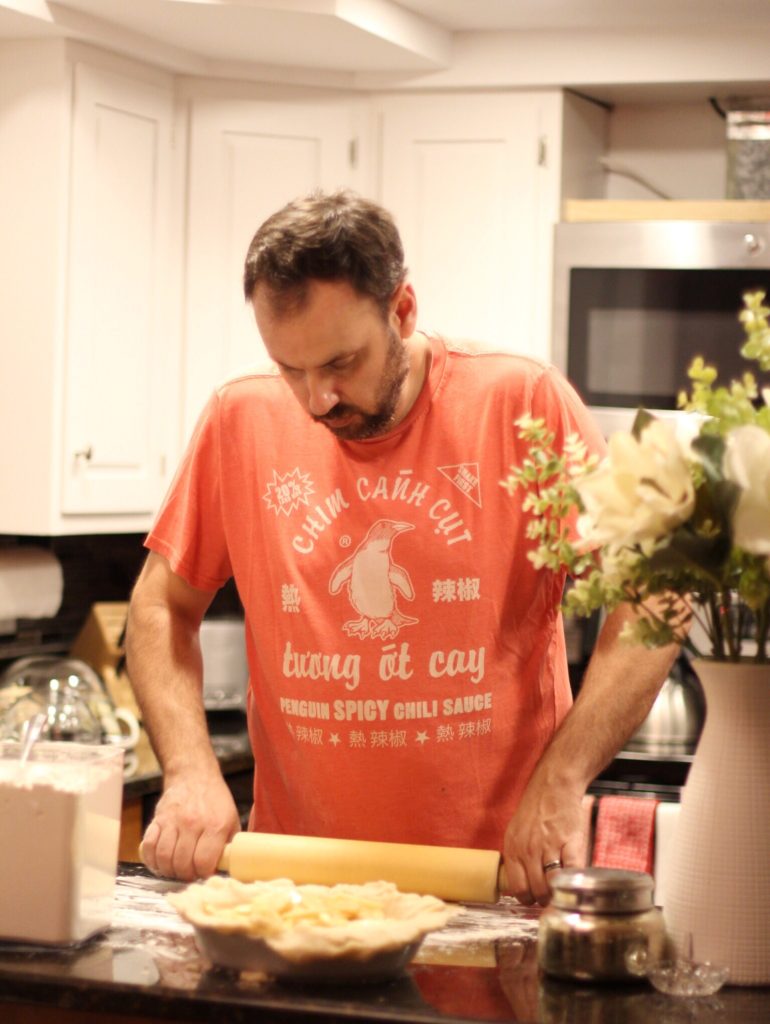
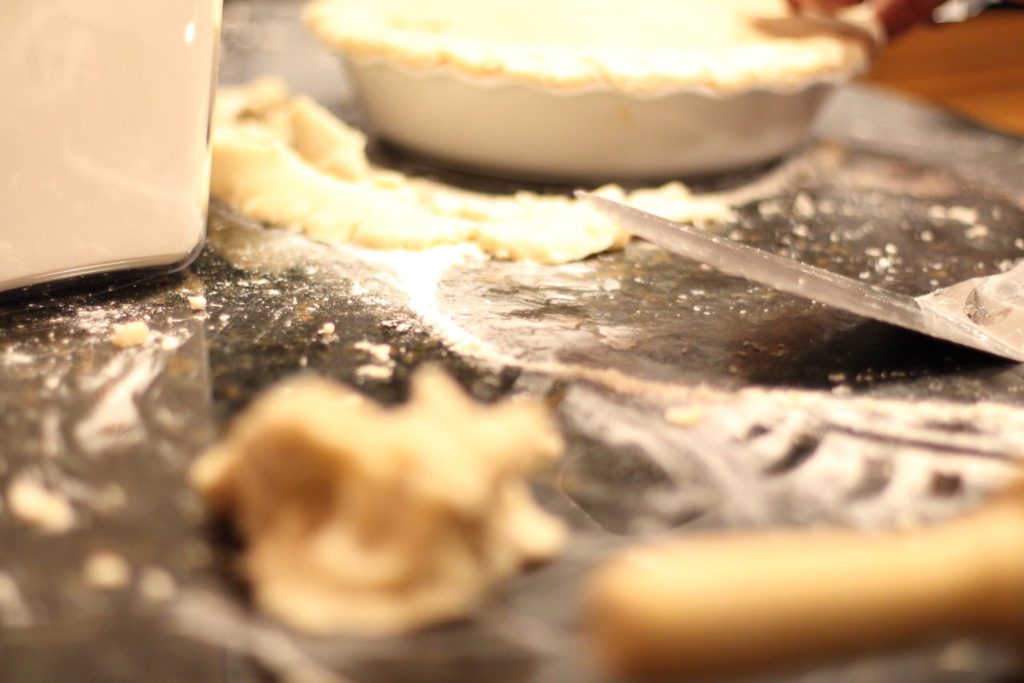
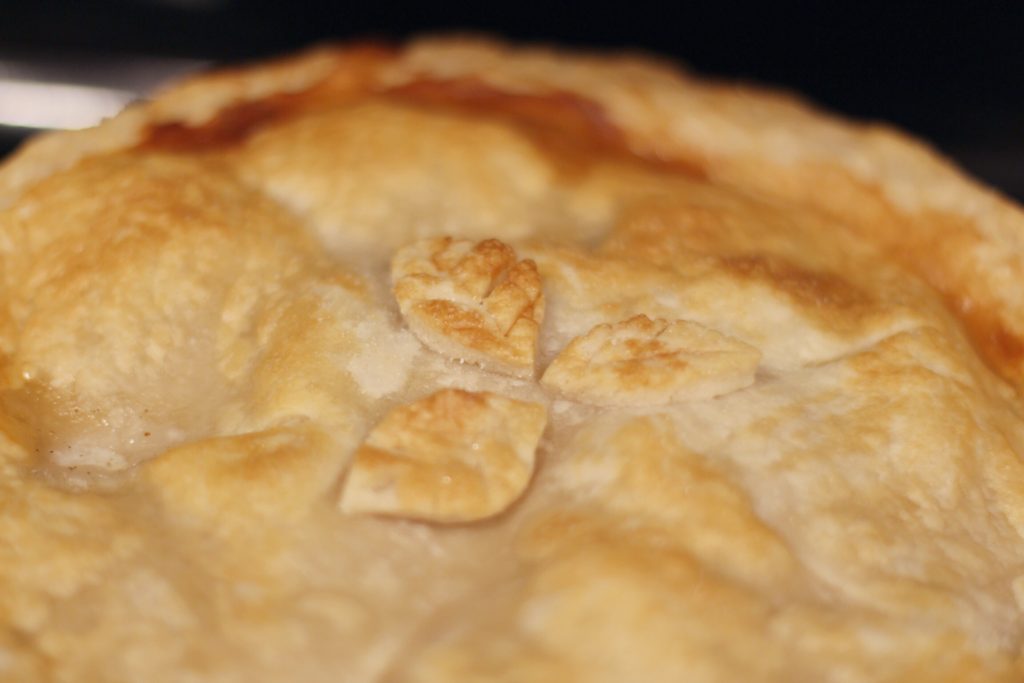
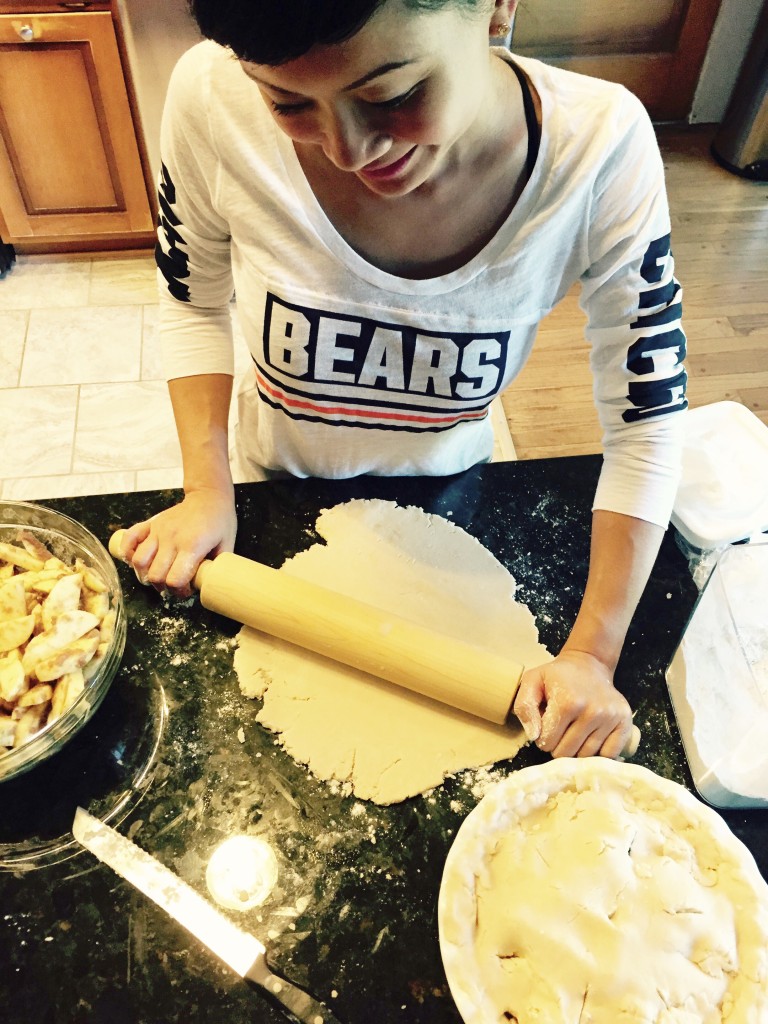
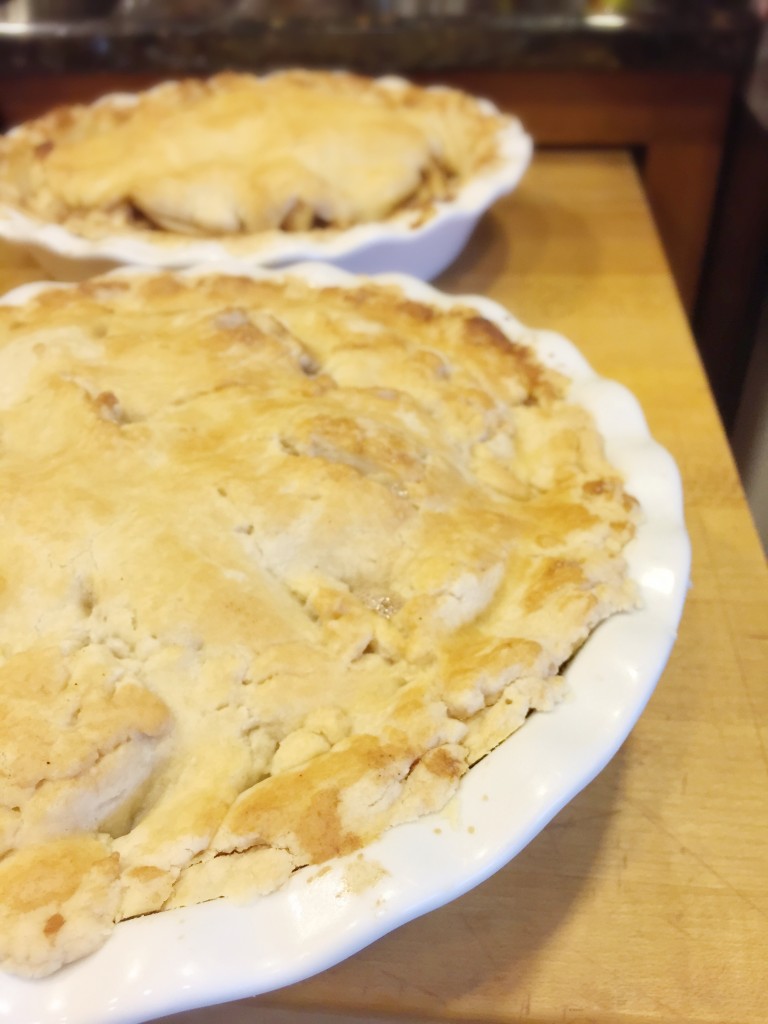
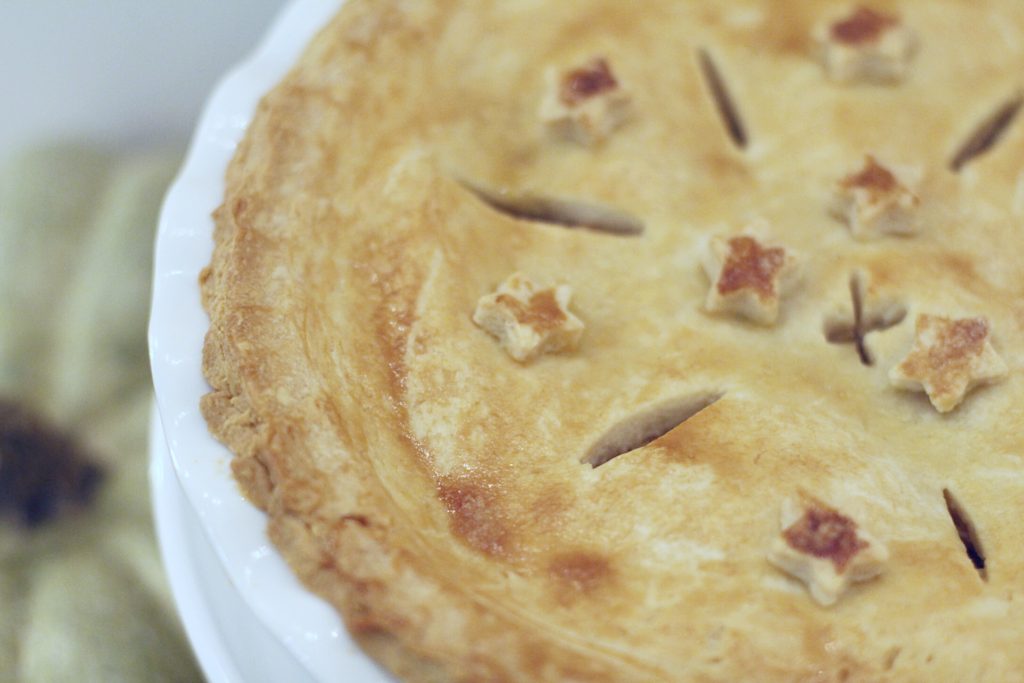
hc had whipped together the pie crust and refrigerated it for a bit before rolling it out to fit the pie pans. i filled the pans full of apples and hc then threw another pie crust layer on top of it and trimmed it. i rolled the remaining dough to cut out some stars to decorate the top of the crust with and then i brushed the top with some beaten egg, sprinkled on some sugar, and into the oven the pies went!
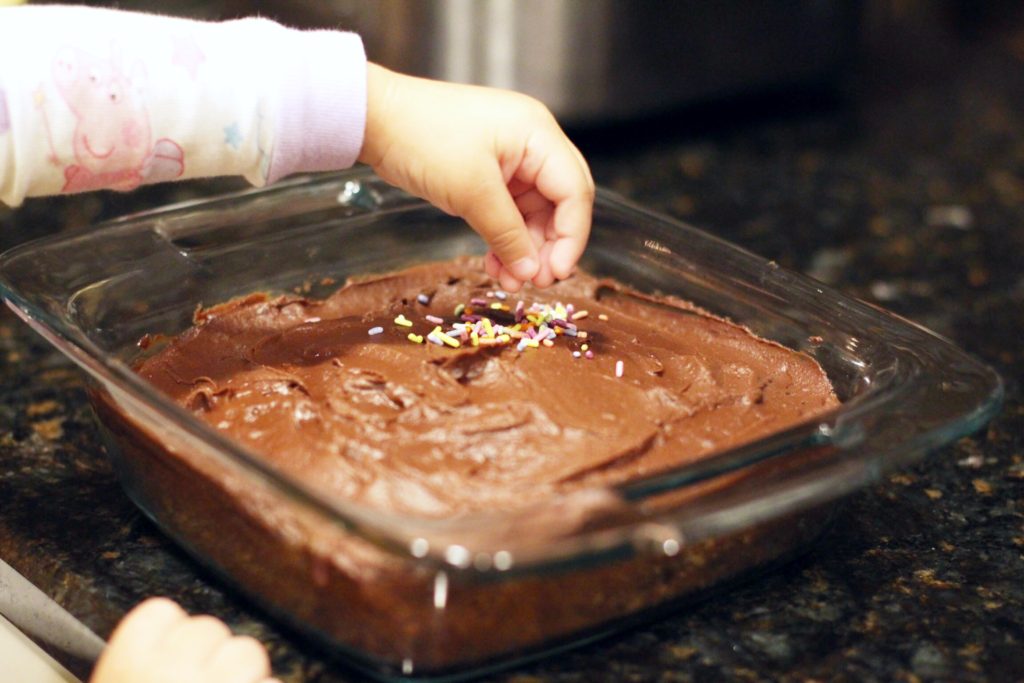
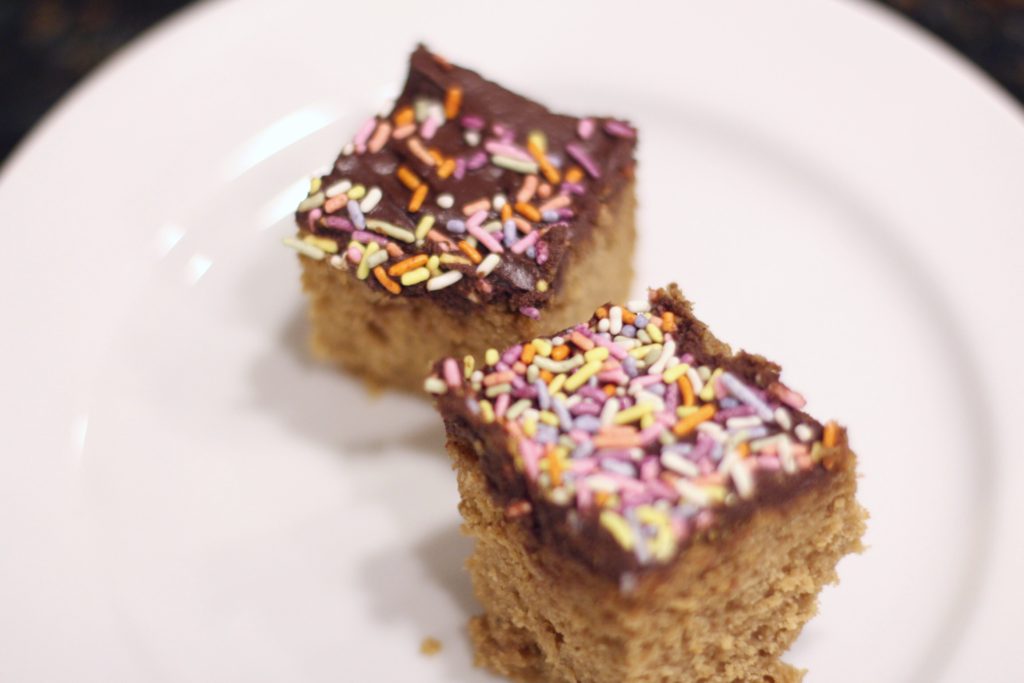
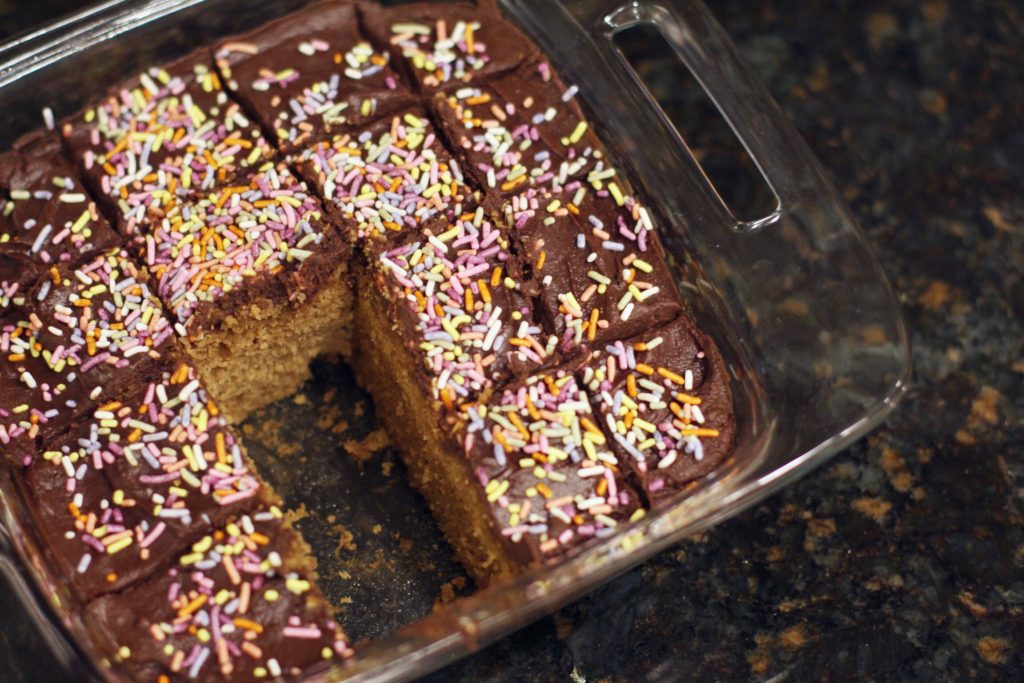
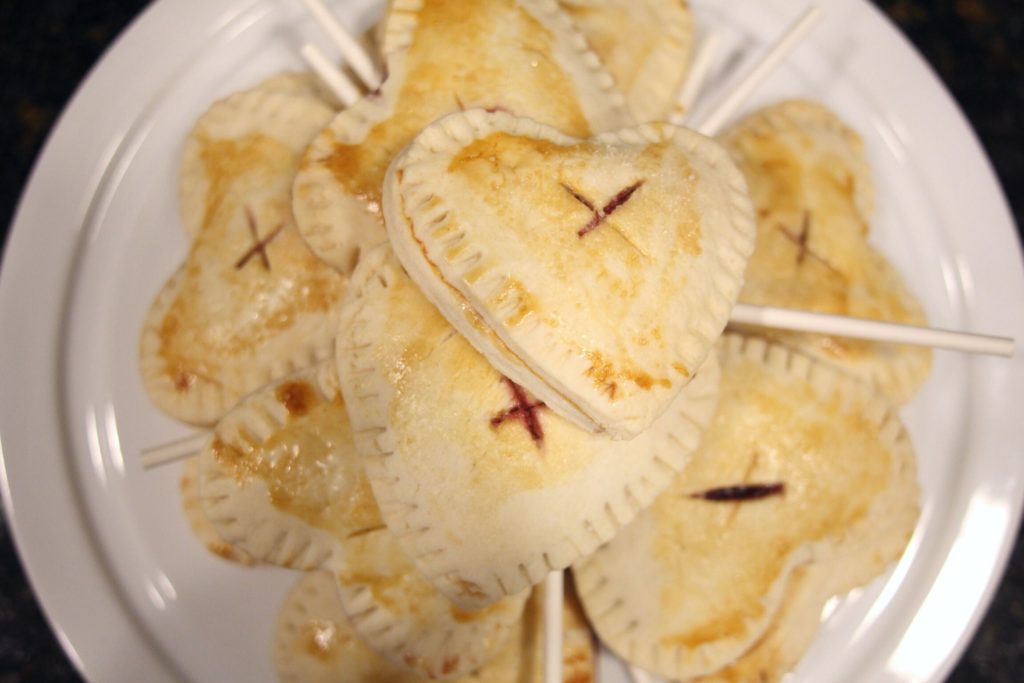
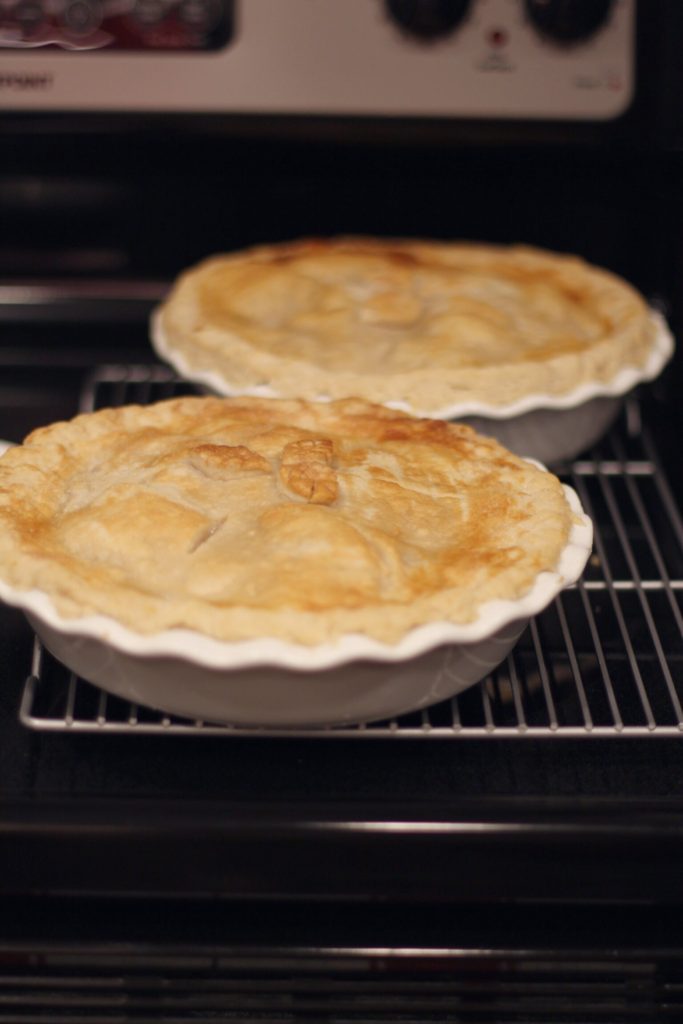
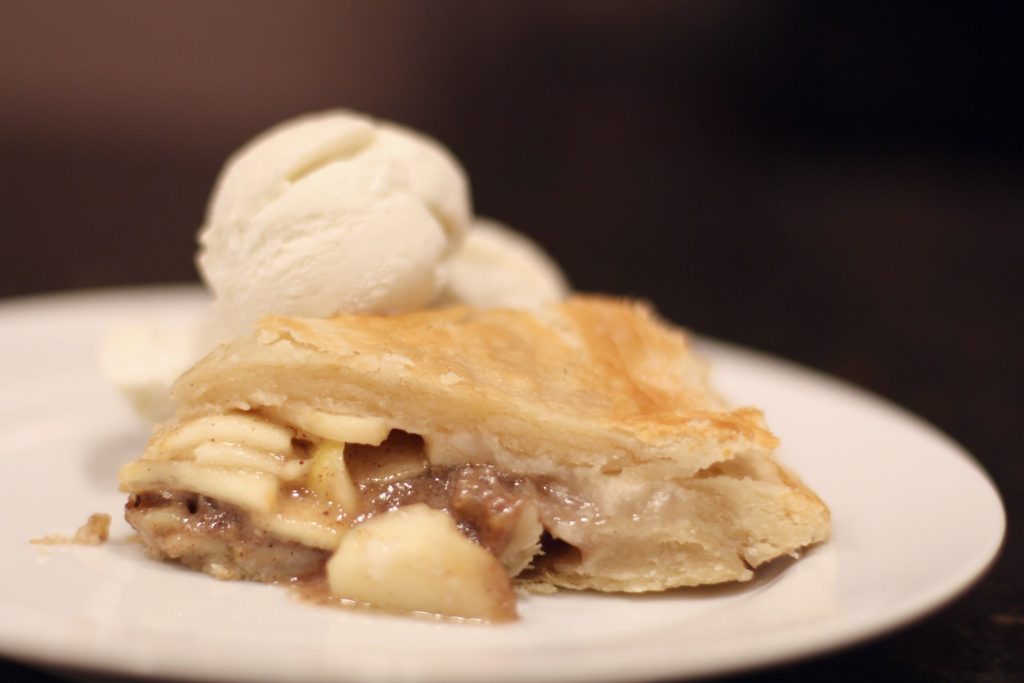
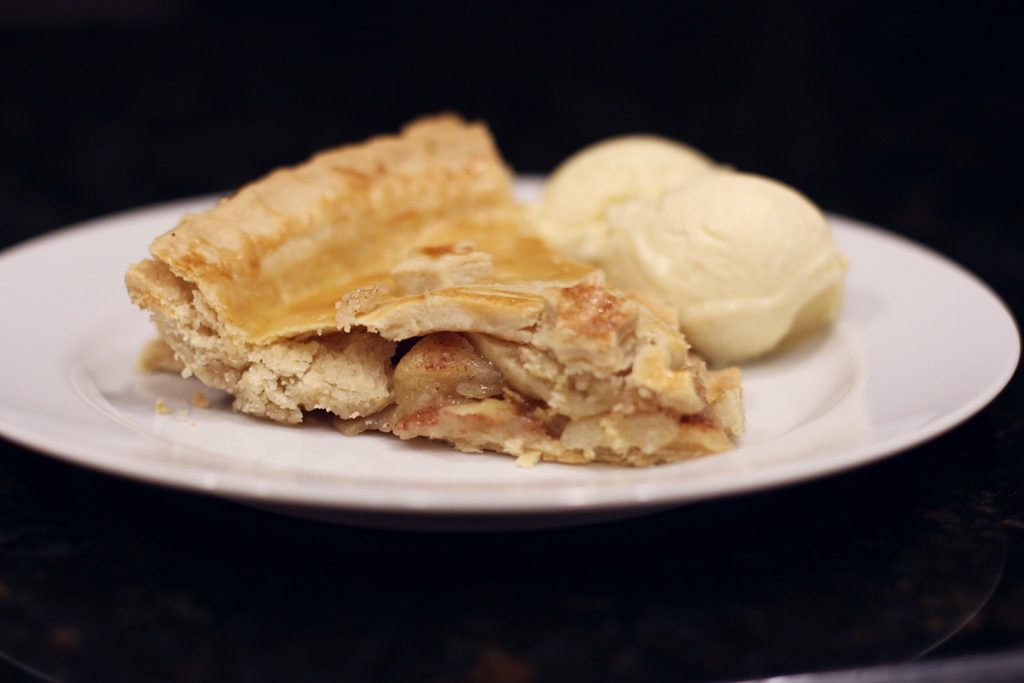
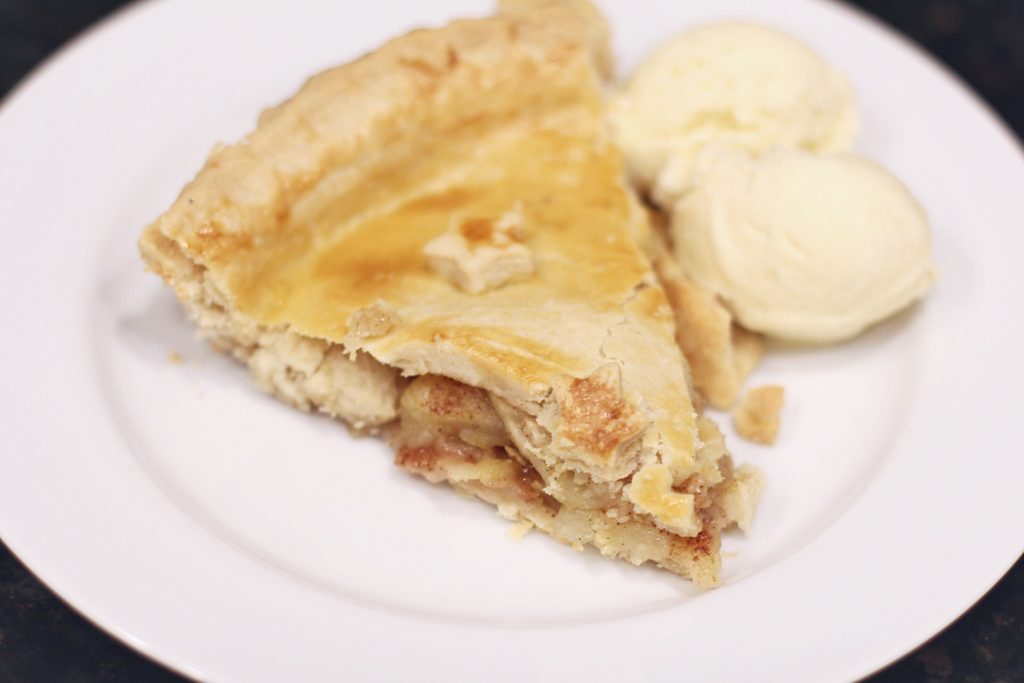
almost an hour later, we had our finished pies!!! we couldn’t wait to eat them! they turned out lovely and they were baked to perfection. hc preferred his served a la mode while i liked my pie plain {although i am a huge a la mode gal!}. we both thoroughly enjoyed our hard work! the pies were delicious!
baking apple pies is one of the reasons why i love fall!
happy fall y’all!
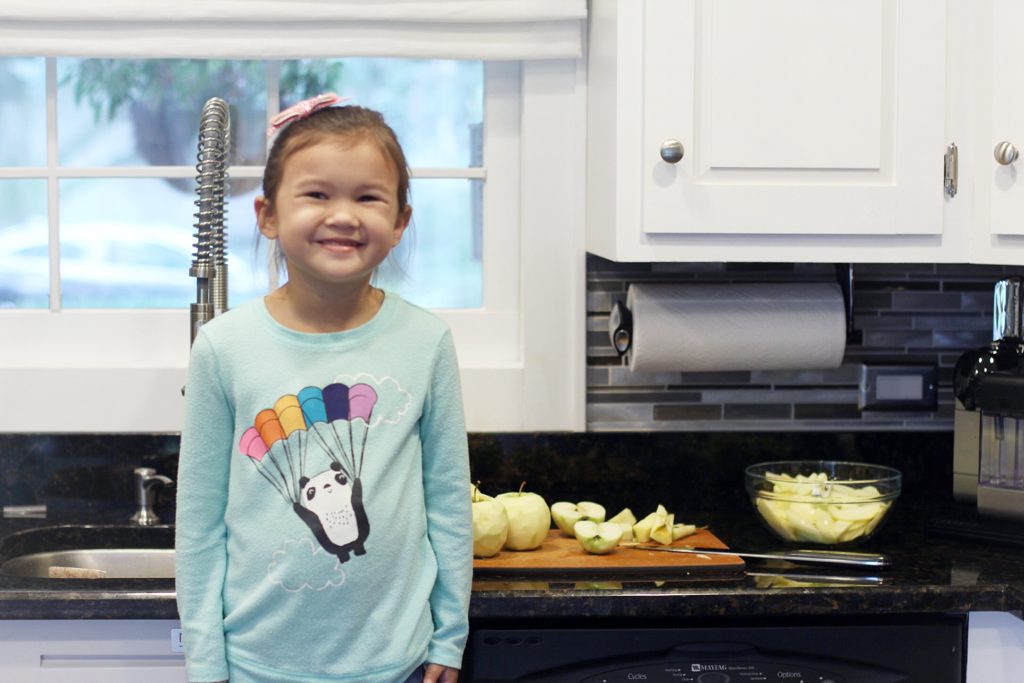
[helping mama make apple pies]
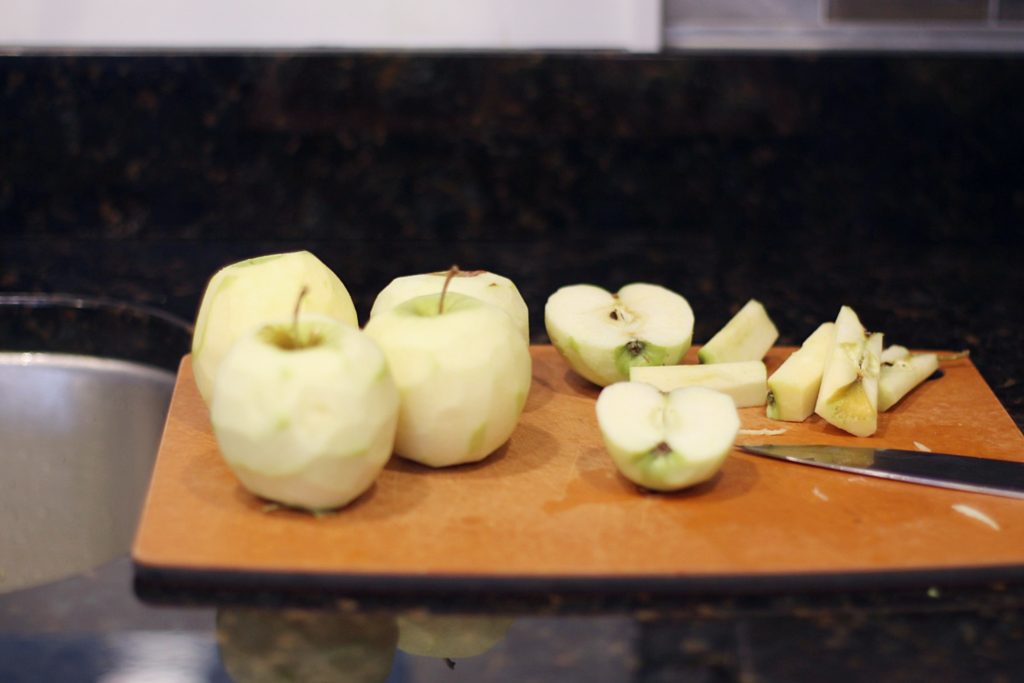
[peeling and cutting]
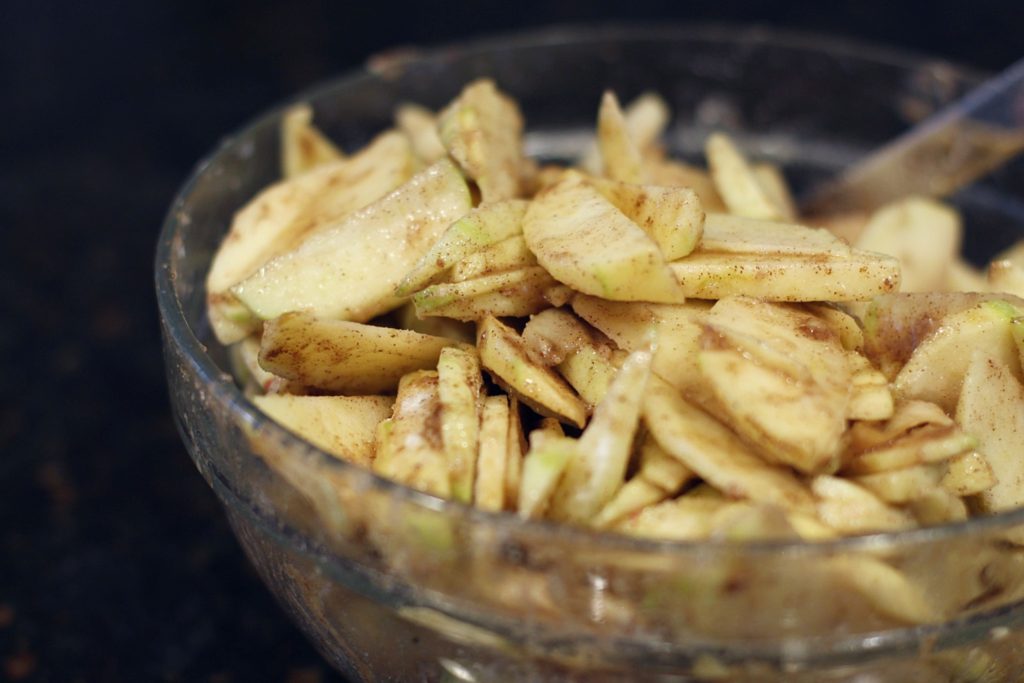
[cinnamon, sugar, and nutmeg]
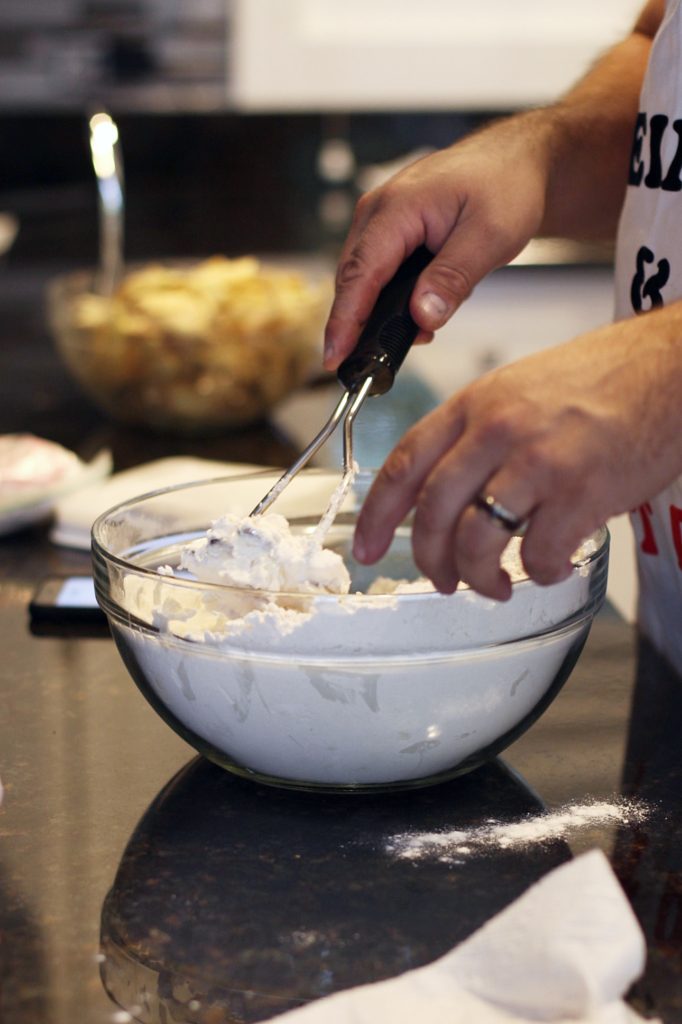
[hc making the pie dough]
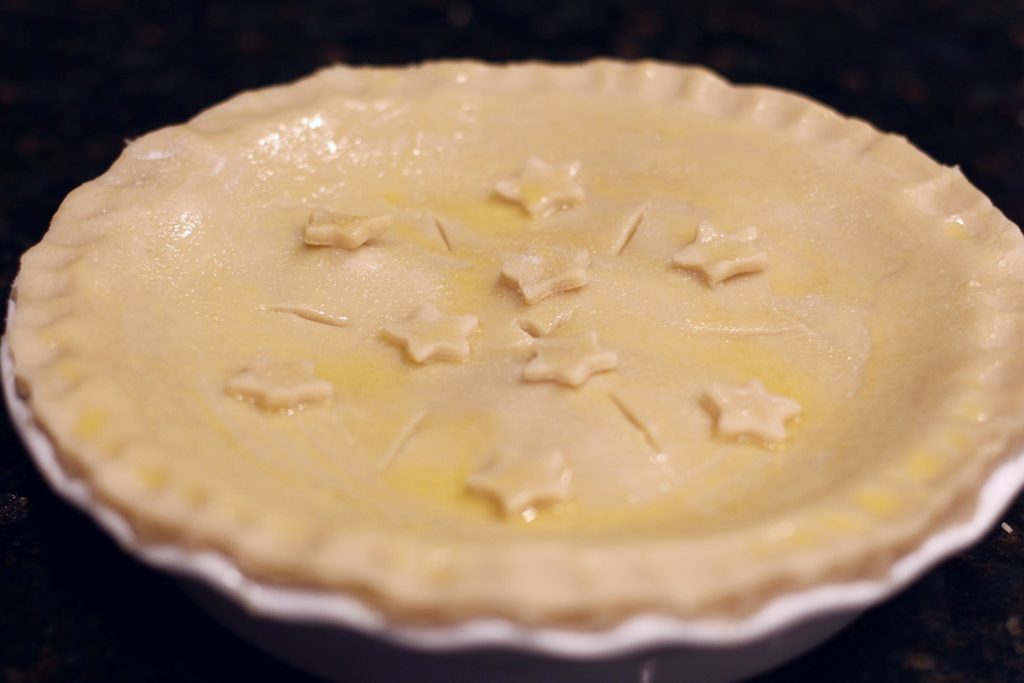
[buttered pie crust]

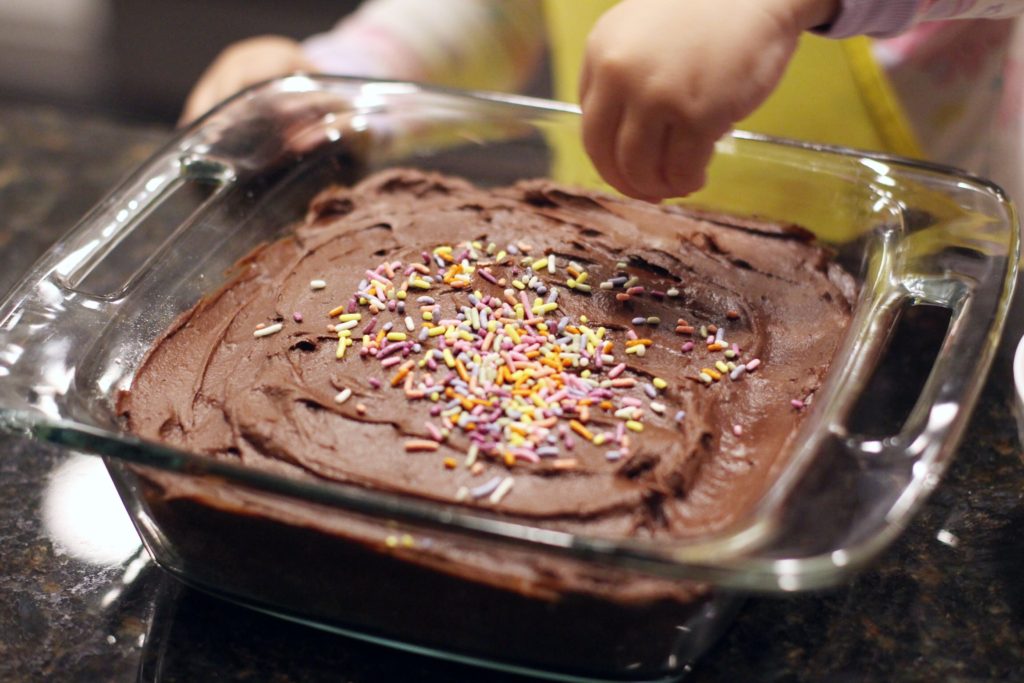
[my baby girl helping out]
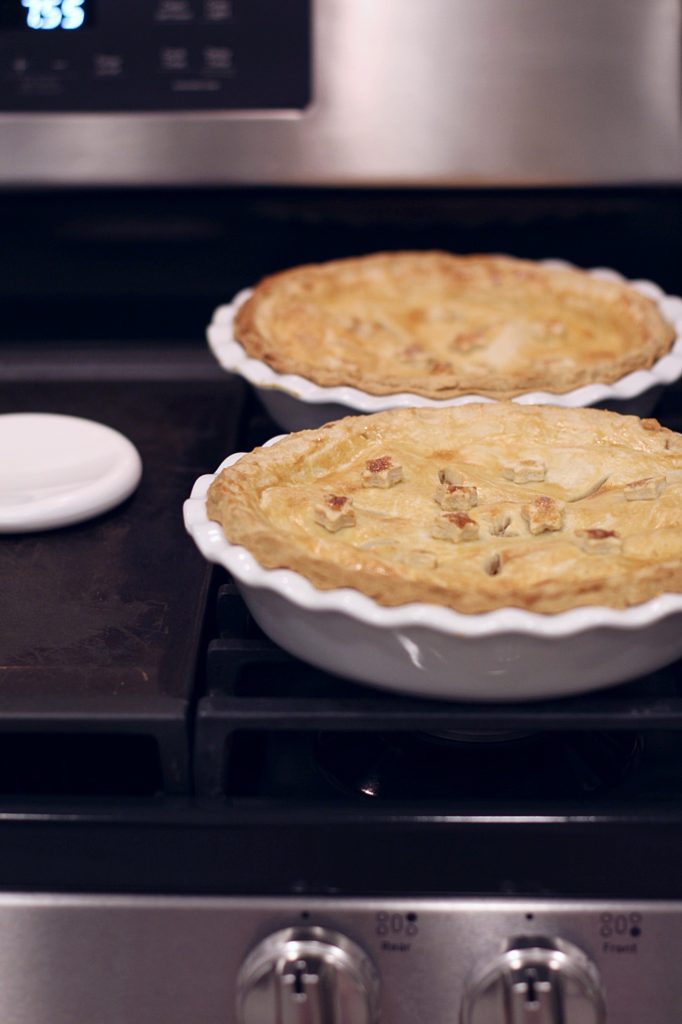
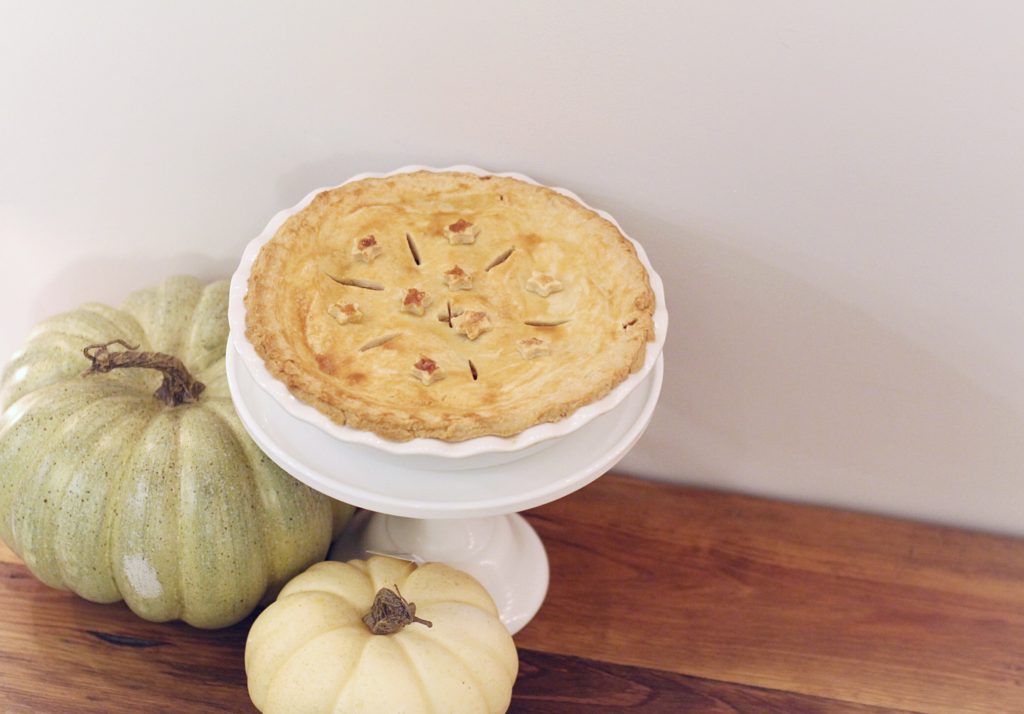
[the finished product]
xoxo